
 Zoe Nora
Did you know over 80% of home theater systems don’t reach their full potential because of room acoustics? Many people spend thousands on top-notch gear but miss out on its true performance.
We think achieving a top-notch listening environment starts with the right sound optimization. By tweaking your system to fit your space, you can change how you enjoy your favorite shows and music.
Our guide covers the key steps for a flawless audio setup. We’ll show you how to audio calibration to keep every sound clear. Let’s help you make a soundstage that brings your movies and music to life.
Key Takeaways
- Room acoustics greatly affect how your speakers sound.
- Proper adjustments can fix common issues like muddy bass or harsh highs.
- A balanced system creates a more immersive experience for the listener.
- Small tweaks to your environment lead to significant improvements in clarity.
- Professional results are achievable with the right systematic approach.
What is Audio Calibration?
Audio calibration is the key to turning a basic home theater into a top-notch listening space. Many think that just buying expensive speakers will make the sound great. But, it’s more than that. Without tuning, your gear fights against your room’s unique setup.
Definition of Audio Calibration
Audio calibration is all about fine-tuning your home theater or stereo. It’s about measuring how sound waves interact with your room. This process fixes issues like timing and frequency problems that rooms naturally cause.
“The room is the most important component in your audio chain, and calibration is the only way to tame its influence on your music.”
Importance of Audio Calibration
We think audio system calibration is key to a great listening experience. When your system is tuned right, the sound is clear and true to life. Skipping this step can make bass muddy or highs harsh, ruining your enjoyment.
Here’s why you should make it a priority:
- Enhanced Clarity: It cuts out unwanted sounds, making dialogue and details clear.
- Balanced Soundstage: It makes sure sound is even across your listening area, for a unified experience.
- True-to-Life Reproduction: It matches your system with the sound engineer’s original intent, giving you accurate sound.
Regular audio calibration turns a bunch of speakers into a single, powerful system. By spending time on this sound adjustment, you get the best out of every dollar you spend on your gear.
Benefits of Audio Calibration
When we calibrate audio levels, we get clear sound that changes our homes. Many people don’t realize how much better sound can be with the right settings. By adjusting for our room’s acoustics, we make sure every sound is perfect.
Improved Sound Quality
The main goal of sound optimization is to fix room problems like reflections and waves. Fixing these issues makes the sound cleaner and more balanced. Bass sounds better, and high sounds are less harsh, making everything sound natural.
Enhanced Listening Experience
Good audio calibration makes our homes feel like a movie theater. When speakers are set right, the sound feels like it’s all around us. This makes watching movies and listening to music much more fun.
Accurate Sound Reproduction
Getting accurate sound reproduction means every sound is right where it should be. Without this, some sounds might be too loud or too quiet. We adjust our systems to match what the creators wanted.
| Feature | Uncalibrated System | Calibrated System |
|---|---|---|
| Dialogue Clarity | Often muffled or buried | Crisp and centered |
| Bass Response | Boomy or inconsistent | Tight and controlled |
| Soundstage | Narrow and flat | Wide and immersive |
| Overall Balance | Uneven frequency peaks | Smooth and natural |
By calibrating audio levels, we make our equipment last longer and sound better. Sound optimization is important for anyone who wants great sound. Regular audio calibration keeps our homes sounding amazing.
Types of Audio Calibration
Getting to know the different types of audio system calibration is key to a great listening space. Many people think of these steps as one thing, but they’re really about making different parts of your setup work better. By understanding these steps, we can improve how our gear works with our space.
Room Calibration
Room calibration is about how sound waves hit your space’s walls, floors, and ceilings. These can cause echoes that mess up the sound. By analyzing these issues, we can fix the sound to make it clearer.
Speaker Calibration
Good speaker tuning starts with where you put your speakers. They should form an equilateral triangle with your main listening spot. This setup helps sound reach your ears right, creating a stable soundstage.
Microphone Calibration
Microphone calibration connects your gear to the software that processes sound. A top-notch measurement microphone lets the system hear your room just like you do. This step is crucial for making your sound system sound its best.
| Calibration Type | Primary Goal | Key Tool |
|---|---|---|
| Room | Reduce reflections | Acoustic panels |
| Speaker | Optimize positioning | Tape measure |
| Microphone | Capture sound data | Measurement mic |
By using all three methods, you can get your audio calibration to sound like a pro. Regular speaker tuning and proper audio system calibration will make every sound clearer and more detailed.
Common Tools for Audio Calibration
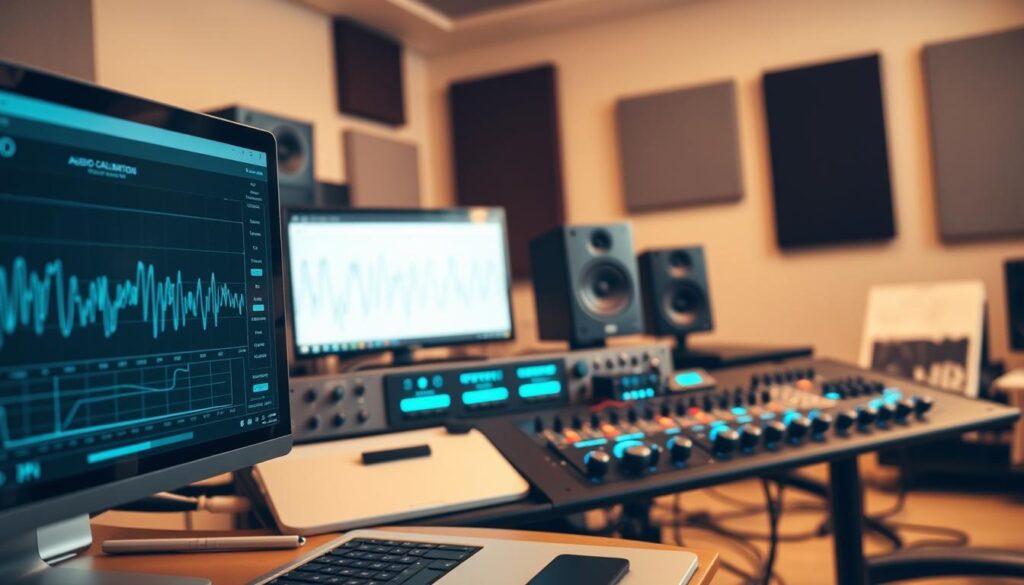
Creating a top-notch audio setup begins with the right tools. Whether you’re a casual listener or an audiophile, the right gear is key. A precise audio calibration tool helps spot acoustic issues in your space.
Measurement Microphones
A dedicated measurement microphone is crucial for audio calibration. These microphones capture sound without adding color. By placing it at your listening spot, you get accurate data on speaker performance.
“The most important component of any sound system is the room itself, and the only way to understand it is through precise measurement.”
Software Solutions
Today’s tech makes tuning your system easier. Home theater receivers often come with Audyssey or MCACC software. These tools generate test tones and adjust settings for a balanced sound.
For a hands-on approach, standalone software offers more control. It shows graphs to help you find sound issues. Using a reliable audio calibration tool in these programs ensures accurate adjustments.
Audio Interfaces
To connect your microphone to a computer, you need a quality audio interface. It converts the microphone’s signal into digital data for software. A good interface keeps your audio calibration measurements stable.
Choose an interface with low noise and phantom power support. This keeps your audio setup consistent during testing. With these tools, you can get pro-grade results at home.
Steps to Calibrate Your Audio System
We can make your listening space better by following a few steps. A good audio setup makes sure all parts work together for clear sound. By setting up your gear right, you get a soundstage that makes music and movies come alive.
Preparing Your Listening Environment
First, clean the room to avoid sound reflections. Put your calibration microphone at ear height at your listening spot. A tripod helps keep it steady and accurate.
Make sure your space is ready. Close all doors and windows to block outside noise. This step is crucial for getting accurate data.
Using Calibration Software
Today’s software makes sound analysis easier. With your microphone set up, the software sends test tones to measure your speakers. It finds frequency peaks and dips that we can’t hear.
- Run the software sweep multiple times for better accuracy.
- Ensure your room remains silent during the entire measurement phase.
- Save your baseline profile before making any permanent changes.
Adjusting Levels and Equalization
Next, adjust the audio levels for each speaker. Make sure they all sound the same at your listening spot. This is key for a good surround sound.
Then, tweak the equalization settings to even out the sound. This sound adjustment process fixes harsh sounds and blends the speakers and subwoofer well. It’s what makes a great audio setup.
Understanding Frequency Response
Frequency response is like a secret map for your audio system. It shows how it turns electrical signals into sound waves. It measures the range of sounds a device can play, from deep bass to high treble. You can learn more about it by checking out frequency response explained.
What is Frequency Response?
This metric shows if a speaker or headphone changes the sound. A flat frequency response is the goal. It keeps the audio close to the original recording.
But, your room can change the sound too. Walls, furniture, and floors can absorb or reflect sound. This is why audio calibration is key for a neutral sound.
Importance of Frequency Response in Calibration
We use room equalization to fix these sound issues. By adjusting equalization settings, we can make the sound clear and balanced. This turns a muddy or harsh sound into a clear one.
Proper tuning of these settings is crucial. Without it, even the best equipment won’t sound its best. By refining your equalization settings, you can bring out the detail and depth lost in room acoustics.
Dealing with Acoustic Issues
Your room is a key part of your audio system. Its physical features affect how sound waves move. When you start audio calibration, remember that your environment can either help or hurt your sound quality. Hard surfaces like glass and tile can bounce sound back, causing echoes that cloud your speakers’ clarity.
Identifying Room Acoustics
To spot potential issues, try a simple clap test. Listen for flutter echoes. If you hear a sharp, metallic echo after clapping, your room likely has too many reflections. These reflections can confuse your measurement microphone, leading to wrong data.
The shape of your room also affects bass sounds. Rectangular rooms can create standing waves. These waves make low frequencies build up in corners, leading to a boomy sound. Understanding these physical interactions is key to a balanced soundstage.
Common Acoustic Treatment Solutions
After finding trouble spots, you can use specific treatments to fix them. Adding acoustic foam panels or fabric-wrapped fiberglass traps on key reflection points can cut down echoes. For bass issues, bass traps in corners can significantly improve the sound.
Don’t forget about the visual side of things. Adding bias lighting behind your TV or projector can enhance contrast and reduce eye strain. This creates a more immersive experience. By combining acoustic treatment with audio calibration, you’ll get the best performance from your system.
Professional vs. DIY Audio Calibration
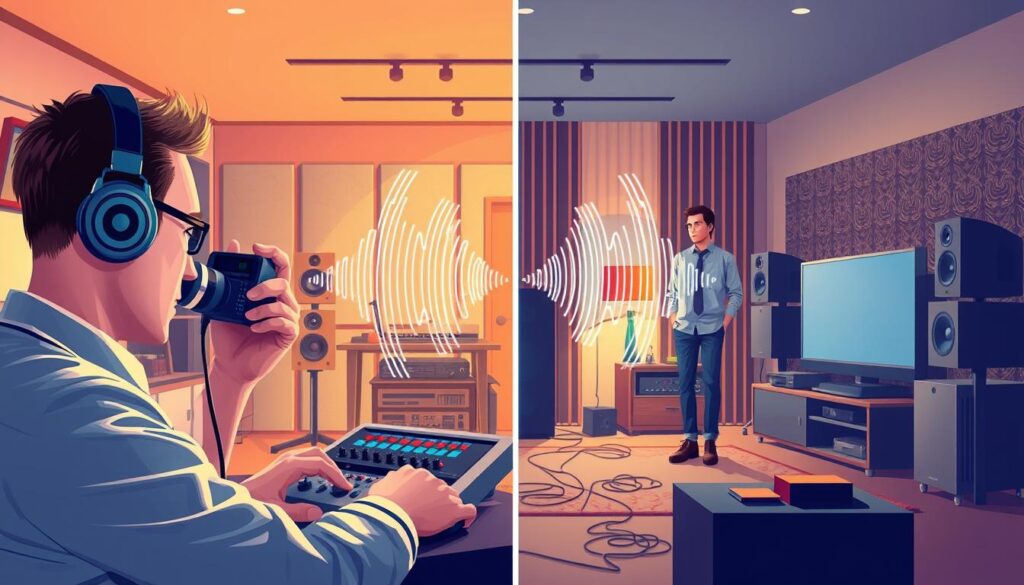
Investing in top-notch gear means making sure it sounds perfect. You have two choices: get a pro to do it or do it yourself. Your decision depends on how tech-savvy you are and how complex your setup is. Both ways can improve your sound, but one might be more precise and convenient than the other.
Pros and Cons of Professional Calibration
Choosing a pro for your home audio installation means your system will be fine-tuned. Experts use advanced tools and know-how to catch issues you might miss. They can fix problems that could mess up your listening experience.
One big plus of professional speaker tuning is handling tricky room shapes and setups. It costs money, but it saves you time and stress. You’ll know your system is working at its best.
“The difference between a good system and a great one is often found in the final calibration, where the room and the speakers speak the same language.”
DIY Calibration Tips and Tricks
For a DIY approach, a good audio calibration tool can help a lot. First, make sure your mic is at ear level where you listen most. Keep it steady to get accurate readings.
Be patient and do multiple checks to make sure your setup is right. Tweaking your crossover settings or EQ can greatly improve sound quality. Remember, patience is key when you’re tuning your speakers yourself.
| Feature | Professional Calibration | DIY Calibration |
|---|---|---|
| Cost | Higher Investment | Low to Moderate |
| Expertise | Advanced/Certified | Learning Curve Required |
| Precision | Maximum Accuracy | Good to Very Good |
| Time Required | Minimal Effort | Significant Time Investment |
Maintaining Your Calibrated Audio System
Getting perfect sound is a journey, not a one-time thing. To keep your audio system calibration top-notch, treat it like a living space. It should grow with your home.
Regular Checkups
Do a full system check every 6 to 12 months. This ensures your sound stays consistent. Even small changes in your room can mess up your sound setup.
Start a new audio calibration when you add new gear or change your room layout. These changes affect how sound moves in your space. So, a fresh check is key for clear sound.
“The quality of your sound is only as good as the consistency of your maintenance routine.”
Keeping Software Up to Date
Today’s sound optimization uses digital tech and firmware. Makers often update these to improve sound accuracy and fix bugs.
Keeping your software up to date means your audio calibration tools are always using the best tech. This keeps your sound quality high and your investment safe.
Troubleshooting Common Calibration Issues
Even the most advanced systems can run into problems during setup. Achieving a balanced soundstage isn’t always easy. When you face unexpected results, a systematic approach helps you calibrate audio levels effectively. This way, you can restore clarity to your listening environment.
Distorted Sound Problems
If you notice crackling or harsh artifacts, your gain staging might be set too high. Distortion often occurs when the signal exceeds the capacity of your speakers or amplifier. We recommend using test tones to measure the output of each speaker individually.
By isolating each channel, you can identify exactly where the clipping originates. Ensure that your sound adjustment settings are not pushing the hardware beyond its physical limits. Lowering the input gain often resolves these issues while maintaining the integrity of your audio signal.
Calibration Not Working
Sometimes, the software fails to detect your microphone or complete the measurement sweep. This usually stems from poor cable connections or incorrect input selection in your interface settings. Always verify that your measurement microphone is plugged into the correct port and that the phantom power is active.
If the process still stalls, check your room for excessive background noise that might interfere with the sensors. Proper audio calibration requires a quiet environment to capture accurate data. If the software continues to report errors, try resetting your interface and restarting the application to clear any temporary cache conflicts.
| Symptom | Potential Cause | Recommended Action |
|---|---|---|
| Audible Clipping | Excessive Gain | Reduce input levels |
| No Signal Detected | Faulty Connection | Check XLR cables |
| Uneven Volume | Incorrect Crossover | Re-run level check |
| Software Timeout | Background Noise | Silence the room |
Consistency is key when you calibrate audio levels to ensure a professional result. If you find that your sound adjustment efforts are not yielding the desired balance, take a break and return with fresh ears. Persistent audio calibration issues are rarely permanent and usually yield to simple, logical troubleshooting steps.
Future Trends in Audio Calibration Technology
The world of sound engineering is changing fast. We’re moving toward smarter, more intuitive systems. Soon, your home theater will adjust to your space without you needing to do anything.
Innovations in Calibration Tools
New tools are all about speed and accuracy. Companies like Dirac and Trinnov are leading the charge. They’ve created advanced audio calibration tools that cut down on mistakes.
These tools can gather room data quicker than ever. This means your setup can be fine-tuned faster than before.
The Role of Artificial Intelligence in Calibration
Artificial intelligence is now key in improving our listening spaces. Machine learning algorithms help find the best speaker positions for you. This makes sure your audio setup sounds like a professional studio.
Try out these new technologies to improve your home audio. Share your experiences on social media. Your path to perfect sound begins with these easy, modern steps.