
 Zoe Nora
Did you know that over 70% of high-end audio performance is lost due to poor room acoustics and improper hardware positioning? Many enthusiasts spend thousands on premium gear but don’t get the sound they want. This is because they ignore the basics of expert audio system installation.
We think your home should sound like a professional studio. By learning the basics of sound system installation, you can make your music and movies sound better. Whether it’s a media room or a simple living area, our detailed approach ensures your home theater system installation is top-notch.
Getting a perfect surround sound setup is more than just plugging in cables. It needs careful planning, from professional speaker mounting to precise wiring and configuration services. For those wanting to learn more about audio equipment setup, check out this detailed speaker setup and optimization guide. Our speaker placement guide will help you balance your environment for an immersive experience, whether indoors or outdoors.
Key Takeaways
- Proper positioning is the most critical factor in achieving high-fidelity sound.
- Small, incremental adjustments often yield the most significant sonic improvements.
- Professional mounting techniques prevent unwanted vibrations and resonance.
- Strategic wiring management ensures signal integrity across your entire system.
- A well-planned layout transforms any room into a premium acoustic space.
Understanding the Importance of Speaker Installation
Professional home audio installation is key to unlocking your system’s full potential. Many people spend a lot on top-notch gear but don’t get the best sound. This is because they don’t set it up right.
We’ve seen systems worth over $500,000 sound bad because they weren’t set up for the room. This shows how crucial proper setup is.
Why Proper Installation Matters
The way you place and calibrate your gear is as important as the gear itself. Expert audio system installation makes sure everything works together with your room’s acoustics. Without this, you’re missing out on great sound.
Choosing a pro for speaker installation brings big benefits:
- Balanced Frequency Response: Gets rid of muddy bass and harsh treble.
- Precise Imaging: Helps you pinpoint where each sound comes from.
- Room Integration: Reduces unwanted echoes and waves.
The Impact on Sound Quality
Sound quality isn’t just about the speakers. It’s also about how they interact with your home’s air and surfaces. Even the most expensive speakers can sound bad if not set up right. Precision is the key to great sound.
By focusing on the technical side of speaker installation, you turn a bunch of parts into a single, immersive experience. We think expert audio system installation is often overlooked in achieving top-notch sound. Getting the setup right lets you hear music and movies just as the artists meant.
Types of Speakers and Their Installation Needs
Getting the most out of your audio starts with knowing how speakers differ. Each one has its own needs for placement and mounting. A speaker placement guide from pros can help your gear sound its best.
Floor-standing Speakers
Floor-standing speakers sit on the ground, offering a full sound. They need stable footing to avoid floor vibrations. Use spikes or pads to keep the sound clear and the bass tight.
Bookshelf Speakers
Bookshelf speakers are made for vertical use to avoid sound interference. Laying them on their sides can mess up the sound. Always use stands or wall mounts to keep them at ear level for the best sound.
In-wall and In-ceiling Speakers
Adding speakers to your walls or ceiling needs careful planning. Whether it’s a big indoor/outdoor speaker installation or a simple home theater, ensure the wall is well-insulated. This keeps sound in one room and the audio clear.
| Speaker Type | Primary Benefit | Installation Focus |
|---|---|---|
| Floor-standing | Deep Bass Response | Surface Stability |
| Bookshelf | Precise Imaging | Vertical Orientation |
| In-wall/Ceiling | Space Efficiency | Structural Mounting |
Choosing the right speakers is just the start. Proper indoor/outdoor speaker installation means understanding your space. When you match your gear to your space, you get a lasting, immersive sound experience.
Tools and Materials Required for Installation
A successful sound system installation starts with the right preparation and quality materials. Having the right tools before you start avoids frustration. It makes sure your project goes smoothly from start to finish.
Essential Tools for Installation
To get a professional look, gather a basic toolkit for audio work. A power drill is key for mounting speakers. A stud finder is also crucial to anchor hardware securely into walls.
You’ll need precision screwdrivers and a reliable level for speaker alignment. Don’t forget sharp wire strippers for clean electrical connections.
Recommended Speaker Wire and Connectors
The quality of your audio signal depends on the materials you use. We suggest oxygen-free copper wire with the right gauge to reduce resistance. This prevents signal loss over long distances.
Choose high-quality banana plugs or spade connectors for secure, corrosion-resistant connections. These make wiring and configuration services easier, simplifying connections behind your receiver or amplifier.
Investing in these materials now avoids future troubleshooting. A clean setup looks better and guarantees your audio system’s best performance.
Preparing Your Space for Installation
We think a great audio project starts before you even hang a speaker. Checking your space first ensures your gear sounds its best. This step helps avoid problems like bad bass or uneven sound.
Room Acoustics and Speaker Placement
Your room’s size affects sound waves a lot. To get the best sound, use a speaker placement guide to find the perfect spot. The 38% rule is a good starting point, placing your main seat 38% into the room from the shortest wall.
This spot helps avoid bass nulls, where low sounds seem to vanish. Consistency is key when measuring from walls. Correct placement ensures sound clarity and depth.
Creating a Wiring Plan
A pro home theater system installation needs a clear wiring plan. Before wiring, mark spots where sound might bounce off hard surfaces. This helps you avoid cable tangles and keeps your setup neat.
Here’s how to organize your wiring:
- Measure the distance from your receiver to each speaker.
- Label both ends of every wire to avoid confusion.
- Use cable conduits or channels to hide wires and protect them.
- Keep power cables away from audio wires to avoid hum.
Planning ahead saves time and stress. With organized wires, you can enjoy your new audio system’s immersive experience fully.
Step-by-Step Guide to Installing Speakers
It’s time to make your space sound amazing by mounting your speakers right. First, get your room ready. Then, start the speaker installation to make your audio dreams come true. We’ll guide you through each step to make sure everything is secure and ready for tuning.
Mounting Techniques for Different Speaker Types
For professional speaker mounting, focus on stability and angle. Bookshelf speakers need heavy-duty stands to block floor vibrations. For in-wall or in-ceiling speakers, make sure the brackets are tight against the drywall to stop rattling.
Position your speakers so they face the main listening area. This simple trick boosts sound clarity in your home theater system installation. Use a laser level to check that all speakers are evenly spaced in the room.
| Mounting Type | Best For | Stability Level |
|---|---|---|
| Wall Brackets | Bookshelf Speakers | High |
| Floor Stands | Tower Speakers | Medium |
| Flush Mounts | In-wall Speakers | Very High |
Connecting Wires and Setting Up
Safe wiring is key for a great speaker installation. Strip wire ends carefully to avoid damaging the copper inside. Use banana plugs for a clean, secure connection that prevents shorts during your home theater system installation.
Check your wiring polarity by matching the positive and negative terminals. A professional speaker mounting setup relies on a good signal path. Keep wires organized and away from power cables to avoid interference. Test each channel to make sure they’re working before you’re done.
Tips for Achieving Optimal Sound Performance
Improving your audio setup is key to better sound quality. The initial setup is just the start. The real magic happens with the final tweaks. These adjustments can turn a basic setup into a professional-grade acoustic environment.
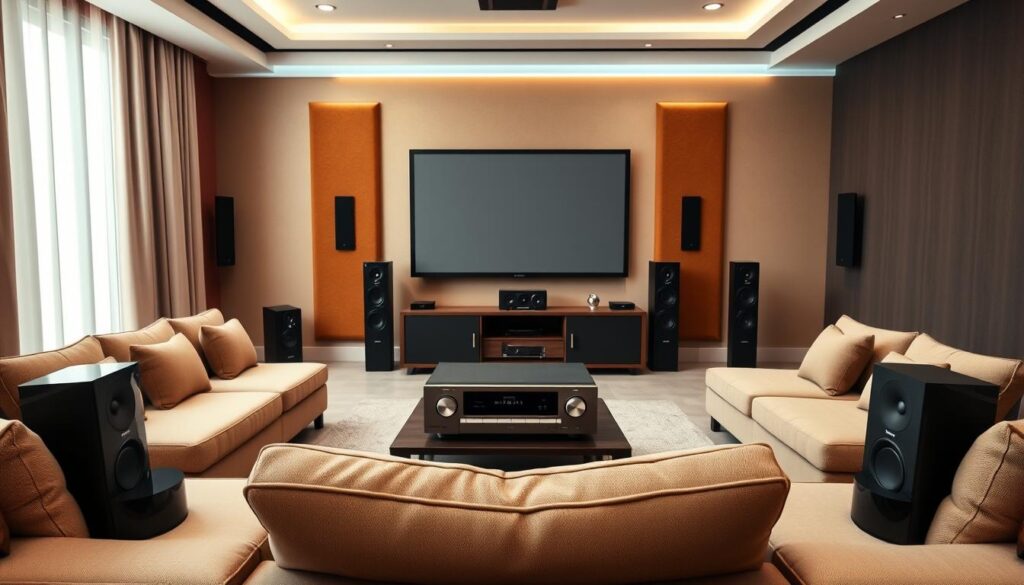
Setting up a home theater or music room requires careful attention. Your surround sound setup is greatly influenced by your space. Even small changes can make a big difference in sound quality.
Positioning Your Speakers
The way you place your speakers affects how sound reaches your ears. A slight change in toe-in can greatly improve your soundstage. Finding the right angle can make your music sound clearer and more detailed.
Adjusting the rake and azimuth of your speakers is also crucial. This ensures sound waves hit your ears perfectly. These small adjustments help create a rich and immersive sound field.
Utilizing Sound Treatments
Managing sound reflections in your room is also important. Hard surfaces can cause sound to bounce back, making it hard to hear individual sounds. Acoustic panels or bass traps can help absorb these reflections, improving sound clarity.
You don’t need to cover every wall to see improvements. Treating the main reflection points on walls can make a big difference. By controlling room acoustics, you let your equipment sound its best.
Troubleshooting Common Installation Issues
Even the best-planned audio setups can face unexpected problems. Minor errors during setup are common. Knowing how to fix these issues can quickly get your system working again.
Identifying and Fixing Wiring Problems
Wiring issues often hide behind walls or in cable trays. A phase issue can cause a thin, hollow sound. This happens when positive and negative wires are mixed up on a speaker.
To keep your system running well, follow these steps for wiring and configuration services:
- Make sure all connections are tight and clean.
- Check that the red wire on the receiver matches the red wire on the speaker.
- Look for any damage or sharp bends in cables that could mess up the signal.
- Use quality banana plugs to avoid short circuits from loose strands.
Resolving Sound Quality Issues
If your wiring is right but the sound is still bad, it might be your environment or settings. Room modes can make some sounds boom or disappear. Try moving your speakers a bit or adding soft stuff to soak up sound reflections.
At times, the problem is just a matter of wrong settings. Check your receiver’s settings to make sure everything is balanced. If you’re still having trouble, getting expert audio system installation help can clear up complex issues.
“The difference between a good sound system and a great one is often found in the final, meticulous adjustments made after the initial setup.”
Enhancing Your Audio System Post-Installation
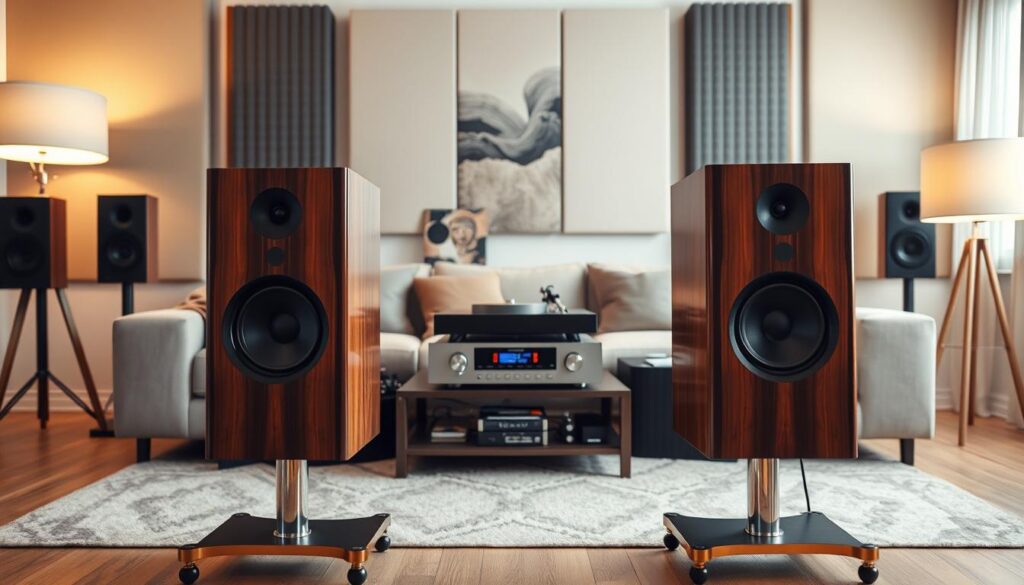
Creating a deep soundscape needs more than just speakers. After setting up your base, you can improve your audio equipment setup for top-notch sound. This means planning carefully to make sure all parts work well together.
Integrating a Subwoofer
A subwoofer is key for the low sounds that regular speakers can’t handle. When you add a sub, where you place it is crucial. Don’t put it in a corner, as it can make the sound muddy.
Instead, try different spots on your front wall. You’ll find a place that gives you clear, strong bass.
Adding a Receiver and Additional Gear
Getting a new receiver can really improve your surround sound setup. A modern receiver lets you adjust each channel for better sound. Use room correction software to make sure everything sounds right together.
Also, think about adding good cables or acoustic panels. These small changes can make a big difference in your sound. Getting your sound system installation just right takes time, but it’s worth it for the clear sound.
| Component | Primary Benefit | Installation Tip |
|---|---|---|
| Subwoofer | Deep Bass Impact | Avoid corner placement |
| AV Receiver | System Calibration | Use auto-room correction |
| Acoustic Panels | Reduced Echo | Place at reflection points |
| High-End Cables | Signal Integrity | Keep runs as short as possible |
Maintaining Your Speakers for Longevity
Protecting your investment means taking care of your audio equipment. Create a simple schedule to check your gear every few months. This ensures it stays in top shape.
Routine Care and Inspection
Dust can harm your speakers over time. Use a soft, dry cloth to clean your cabinets. Gently remove debris from the speaker grilles.
Also, check your speaker mounting hardware during these cleanings. Tighten any loose bolts or brackets. This stops unwanted vibrations that can mess up sound quality.
Strategic System Upgrades
Watch for signs of wear or audio distortion in your components. Brands like Klipsch or KEF have high-quality replacement parts. They can help if your drivers are getting old.
Think about upgrading as your listening habits change. A high-end amplifier or new cables can refresh your system. Share your setup photos with our community. It can inspire others on their audio journey.