
 Zoe Nora
Did you know over 90% of professional audio problems come from bad signal paths? When setting up a recording space, we often overlook the cables that connect our gear. Picking the right XLR cable is key to keeping your sound clear and free from hums.
Balanced transmission is crucial for clean audio in studios, podcasts, and live shows. It blocks outside noise, giving us the reliability needed for top-notch sound. Choosing the right cable means considering length, shielding, and connector quality for your needs.
We’ll show you how to match your equipment with the perfect XLR cable. Whether you’re setting up a home studio or managing a broadcast booth, knowing these details helps you spend your money wisely. Let’s dive into finding the best cable for your budget and needs.
Key Takeaways
- Balanced audio transmission is essential for eliminating electromagnetic interference.
- Shielding quality directly impacts the clarity of your recorded signal.
- Connector durability prevents signal drops during frequent setup changes.
- Gauge thickness influences the longevity of your gear in high-traffic areas.
- Matching length to your specific distance needs prevents unnecessary signal degradation.
What is an XLR Cable?
For top-notch sound quality, you need to know about the microphone cable. It’s the go-to for sending balanced audio between high-end gear.
These cables are made to keep your audio clean. They’re key in studios and live shows for keeping signals strong.
Overview of XLR Cable Design
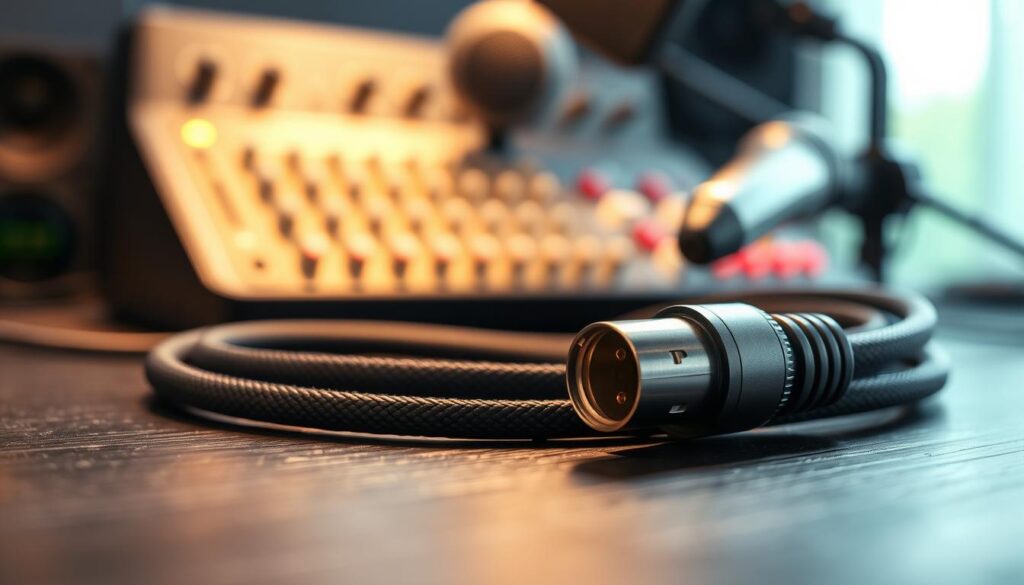
The design has a round connector with three pins. These pins carry the audio’s positive, negative, and ground signals.
The microphone cable has a female connector at one end and a male at the other. It also has a locking mechanism to stop it from coming loose during recordings.
Common Uses for XLR Cables
We mainly use them to link microphones to mixers or audio interfaces. They’re great at blocking out noise and interference.
This makes them perfect for long cables. Without them, your audio might pick up unwanted sounds.
Differentiating XLR Types
While the usual three-pin setup is common, there are special types for certain needs. For example, an XLR-to-TRS cable connects pro mics to home gear.
For big setups, XLR snakes group many cables into one. And XLR-to-USB adapters let you plug pro microphone cables into computers for recording.
Understanding XLR Cable Components
Every high-quality audio setup relies on its internal components. The balanced audio cable is a key part of this. It’s designed to keep your sound clear by blocking interference.
Connectors and Pins
The XLR connector is at the heart of this system. It has three pins that are crucial for a balanced signal path.
Pin 1 is for the ground. Pins 2 and 3 carry the positive and negative phases of the audio signal. This three-pin configuration helps cancel out noise, giving you a clean sound.
Cable Construction Materials
The materials in the cable body affect its durability and signal quality. Professional cables often use high-purity copper for better conductivity and less signal loss.
The outer jacket is made from durable PVC or rubber to protect the wires. Premium models may have gold-plated contacts to prevent corrosion. They also have metal housings and strain-relief boots for heavy-duty use.
Shielding Types Explained
Shielding protects against electromagnetic interference in noisy environments. Different shielding methods offer different levels of protection based on your needs.
| Shielding Type | Flexibility | Noise Rejection | Best Use Case |
|---|---|---|---|
| Braided Copper | High | Excellent | Live stage performances |
| Spiral Copper | Very High | Good | Studio recording sessions |
| Foil Shield | Low | Superior | Permanent installations |
| Dual-Layer | Moderate | Maximum | High-interference areas |
Choosing the right XLR connector and shielding is crucial. It matters whether you’re in a studio or on stage. Knowing these components helps you build a reliable balanced audio cable collection.
Factors to Consider When Choosing an XLR Cable
Choosing the right XLR cable is key to great audio. It’s all about matching the cable’s features to your setup. Knowing how physical properties affect your signal is crucial.
Length and Reach
First, measure the distance between your devices. Add a few extra feet for slack in case things move. This helps avoid signal loss.
While short cables keep your space neat, high-quality ones can handle long runs. They ensure your XLR cable keeps the signal strong, even over long distances.
Cable Thickness and Weight
The cable’s build affects its use. Thin, light cables are great for tight spaces. They’re easy to manage.
Thicker cables, on the other hand, offer better shielding and last longer. They’re perfect for stages or busy areas where cables get a lot of use.
Application-Specific Features
Think about how you’ll use the cable. For permanent setups, choose cables with tough outer jackets. Mobile DJs need cables that don’t tangle easily.
| Application | Recommended Thickness | Ideal Length | Key Feature |
|---|---|---|---|
| Studio Recording | Thin/Flexible | 3-10 Feet | Low Noise |
| Live Stage | Thick/Durable | 20-50 Feet | High Shielding |
| Permanent Install | Standard | Custom | Fire Rating |
By considering these factors, you’ll make sure each XLR cable does its job well. Taking the time to choose the right cable prevents problems and keeps your audio clear.
Benefits of High-Quality XLR Cables
Choosing a professional microphone cable means looking for reliability, not just marketing promises. Some brands claim big changes in sound, but the real value is in steady signal delivery. We focus on cables that keep your audio clear from start to finish.
Enhanced Sound Quality
A top-notch cable is like a clear path for your audio. It uses the best copper to cut down on signal loss and resistance. Your recordings will stay clear and deep, without any unwanted changes.
Durability and Longevity
Studio and stage settings can be tough on gear. A professional microphone cable has strong jackets and extra strain relief. This means it can handle constant use and foot traffic. Choosing better materials saves you time and money in the long run.
Noise Reduction
Good shielding is key to fighting off electromagnetic interference. Top cables use thick braided shields to block hum and buzz from lights or power lines. This essential protection keeps your signal clean, even in noisy places.
| Feature | Standard Cable | Professional Cable |
|---|---|---|
| Shielding | Thin Foil | Dense Braided Copper |
| Connector Quality | Plastic/Light Metal | Heavy-Duty Alloy |
| Strain Relief | Minimal | Reinforced Rubber |
| Signal Integrity | Prone to Interference | High Noise Rejection |
Choosing a reliable professional microphone cable gives you peace of mind. It focuses on quality construction to protect your sound from outside noise and wear.
Popular Brands of XLR Cables
Finding a top-notch XLR male to female cable is easier when you know the best brands. These companies focus on quality and durability. They are favorites among professionals and hobbyists.
Knowing the differences between these brands helps you choose the right cable. Whether for a studio or a home podcasting station, the right cable makes a big difference in sound quality.
Mogami
Mogami is the gold standard for studios. Their Gold Studio series uses high-grade Japanese wire and Neutrik gold-plated connectors. This ensures minimal signal loss.
These cables have great shielding, perfect for recording sessions where silence is key. They are pricey but worth it for top performance.
Monster Cable
Monster Cable is known for rugged durability. They are a hit with touring musicians and live sound engineers. Their cables can handle the rigors of live performances.
Many Monster Cable products come with lifetime warranties. This gives professionals peace of mind. They focus on durability and shielding to prevent interference in loud environments.
Hosa Technology
Hosa Technology is great for those on a budget. They offer a wide range of XLR male to female cables for home studios and hobbyists. They are affordable and reliable.
While they don’t have the premium materials of high-end brands, they offer consistent performance at a lower price. They are perfect for those who need many cables without spending a lot.
| Brand | Best For | Price Range | Key Feature |
|---|---|---|---|
| Mogami | Professional Studio | Premium | Neutrik Connectors |
| Monster | Live Touring | Mid-High | Lifetime Warranty |
| Hosa | Home Recording | Budget | High Accessibility |
How to Properly Care for Your XLR Cables
Looking after your cables is key to keeping them in top shape. By taking good care of your XLR microphone cord, you ensure it works well. This is crucial for clear recordings and live shows.
Storage Tips
Storing your cables right is the first step to avoiding damage. Use the over-under coil method to wrap them. This method stops twisting and stress on the wires.
Use hook-and-loop ties to keep your cables tidy. Store them in a cool, dry place. Use bags or cases to shield them from dust and moisture.
Cleaning Procedures
Contacts can get dirty over time, causing signal problems. Clean them with a soft cloth or a contact cleaner on a cotton swab. But be gentle.
Don’t push liquid or dirt into the connector. Keeping the XLR microphone cord pins clean is vital for a good connection.
Checking for Wear and Tear
Regular checks can spot issues before they get worse. Look for cuts or damage on the outer jacket. This could expose the shielding.
Check the locking tabs and strain relief points too. If you hear intermittent noise or crackling, it’s time for a fix or a new cable. This keeps your audio professional.
How to Connect an XLR Cable
When you plug your XLR cable into your gear, signal flow starts. Make sure the connection is secure. This protects your equipment and ensures top sound quality for your recordings.
Step-by-Step Connection Guide
First, line up the male XLR plug pins with the female input holes. Look for a notch on the connector to guide you.
Push the connector into the port until you hear a click. This means it’s locked. Before turning on phantom power, make sure your gain is down if your mic needs it.
“Precision in the setup phase is the hallmark of a professional engineer who values the integrity of the signal chain.”
Common Mistakes to Avoid
Don’t force the connector if it’s not aligned. This can damage the XLR cable pins.
Also, don’t turn on phantom power with your mic already connected. Always check your manual to see if your mic needs 48V power.
Troubleshooting Connection Issues
If you get a silent signal, check if the XLR plug is fully in and locked. A loose connection can cause audio drops or silence.
If you hear hum or crackling, look for wear on the cable. If the problem persists, try using a different cable to see if the issue is with the wire or the port.
Understanding Balanced vs Unbalanced Cables
Choosing the right wiring can greatly affect your audio quality. Many people struggle to pick between different signal paths without knowing the impact on sound. Knowing the difference between balanced and unbalanced cables helps us make better choices for our audio needs.
What is a Balanced Cable?
A balanced audio cable uses three wires: two for the signal and one for ground. The two signal wires carry the same audio but one is flipped. This cancels out interference when the signal reaches its destination.
This design keeps the signal clean over long distances. It’s great for stages or studios because it reduces hum and buzz.
Benefits of Balanced Connections
The main benefit of balanced audio cables is their ability to reject noise. They use common-mode rejection to block external interference. This makes them the go-to choice for professionals and high-end studio equipment.
They also offer a stronger signal path. Balanced connections are crucial in noisy environments where keeping audio clear is essential.
When to Use Unbalanced Cables
Unbalanced cables, like TS instrument cables, have one signal wire and a ground. They’re more prone to interference. We use them for short distances to avoid noise.
They’re fine for connecting guitars, keyboards, or consumer audio devices. Their simplicity and lower cost are worth it for these uses.
| Feature | Balanced Cable | Unbalanced Cable |
|---|---|---|
| Conductors | Two signal + Ground | One signal + Ground |
| Noise Rejection | Excellent | Poor |
| Ideal Distance | Long (50ft+) | Short ( |
| Common Use | Microphones/Mixers | Instruments/Consumer |
Using XLR Cables with Audio Equipment
Getting your audio components to work right depends on the right XLR cable setup. Knowing the difference between input and output is key. This keeps your signal clear and free from noise. Always check the signal level before connecting to avoid damage.
Connecting to Microphones
Connecting a microphone needs a high-quality XLR cable. Most condenser mics need phantom power, a 48V charge from your interface or mixer. Make sure the cable is fully in the jack to avoid pops or signal loss.
“A balanced connection is the gold standard for microphone signals, as it effectively cancels out electromagnetic interference over long distances.”
Integration with Mixing Consoles
Mixing consoles are the heart of your audio setup. They need precise gain settings for each XLR cable. Start with gain knobs down and phantom power off to protect speakers. Proper routing helps manage sources and keeps noise low.
- Check that your XLR cable is securely locked into the input channel.
- Adjust the gain staging to ensure the signal peaks at the optimal level without clipping.
- Use high-quality shielding to prevent crosstalk between adjacent channels.
Running from Speakers to Audio Interfaces
Connecting powered speakers to an audio interface can be tricky. Remember, use an XLR cable based on the manufacturer’s needs, not just the connector type. Always check your manual before swapping cables.
Safety is paramount with powered gear. Turn on speakers last to avoid damage. Following these tips keeps your XLR cable setup reliable for any session.
Alternatives to XLR Cables
Looking into different audio cable types can improve your recording or live sound setup. XLR is top for pros, but other connectors have their perks. They depend on your gear and setting.
TRS and TS Cables
TRS (Tip-Ring-Sleeve) and TS (Tip-Sleeve) are common in studios. A TRS audio cable sends balanced signals, like XLR. It’s great for balanced line-level gear.
TS cables are for short, unbalanced connections. They’re best for linking an electric guitar to an amp. Long unbalanced cables can pick up hum or interference, so keep them short.
Optical and Digital Connections
Optical and digital connections, like TOSLINK or S/PDIF, make systems simpler. They send data as light or digital pulses, avoiding electromagnetic interference.
These digital paths let you send multiple audio channels in one streamlined connection. This cuts down on cable mess and keeps your signal clear.
When to Opt for Alternatives
Choosing the right connector depends on your needs. An XLR-to-USB adapter might seem handy, but it’s not as good as a dedicated audio interface. It lacks quality preamps.
| Connector Type | Balanced | Best Use Case |
|---|---|---|
| XLR | Yes | Microphones/Long runs |
| TRS | Yes | Line-level gear |
| TS | No | Instruments |
| Digital/Optical | N/A | Multi-channel routing |
Think about the noise floor and signal quality of your chosen cable. For long cables in noisy places, balanced connections are best for clear sound.
Final Tips for XLR Cable Selection
Choosing the right gear is key to keeping your audio signal clean and reliable. Think about your setup’s needs to pick the right length, gauge, and shielding. This ensures your audio quality is top-notch.
Assessing Your Needs and Setup
Your XLR cable choice depends on your studio or stage’s layout. A basic setup needs at least two cables, then add microphones or monitors. Always have spare cables ready to avoid delays during important sessions or live shows.
Budget Considerations
Mid-range cables from brands like Mogami or Hosa Technology are often the best choice. They offer great value for most users. For those who tour often, investing in premium cables is worth it. They last longer and save you money in the long run.
Seeking Professional Advice
Talking to audio engineers can help you choose the right cable. They know which specs fit your equipment best. They also know about connector quality and strain relief, which protect your investment. Visit local music stores to try out different cables before buying.