
 Zoe Nora
Over 80% of unwanted low-frequency noise in home recordings comes from floor vibrations traveling through your stand. Even small movements can ruin a perfect take. A high-quality shock mount creates a barrier between your sensitive microphone and distracting mechanical sounds.
Finding the right gear can feel overwhelming. This guide focuses on compatibility, isolation, and durable construction. Your recording environment and budget also shape the best shock mount for your needs.
Key Takeaways
- Mechanical noise is a leading cause of poor audio quality in home studios.
- Isolation tools create a necessary buffer against floor and desk vibrations.
- Compatibility with your specific microphone model is the most critical factor.
- Proper installation ensures your equipment remains safe and stable during sessions.
- Balancing your budget with build quality leads to long-term recording success.
Understanding the Purpose of a Shock Mount
Professional audio needs more than a high-quality microphone. A microphone shock mount blocks unwanted noise that could ruin a perfect take. This mechanical cradle suspends your gear, so only intended sound reaches the capsule.
What is a Shock Mount?
At its core, this tool isolates your hardware from its support structure. It uses elastic bands, springs, or specialized polymer components to create a buffer zone. This mechanical isolation stops vibrations from reaching your mic through boom arms or floor stands.
Without this buffer, your equipment stays physically connected to its environment. A foot tap or desk bump can travel as a low-frequency rumble. A microphone shock mount separates the device from these disruptive physical forces.
Why Use a Shock Mount?
Sensitive condenser diaphragms capture subtle performance details. However, their sensitivity also captures unwanted mechanical energy. In places with heavy foot traffic or unstable surfaces, this noise may resist removal during post-production.
Use a microphone shock mount with high-gain settings or delicate vocal recordings. Controlled, acoustically treated rooms may find them less essential, but they remain standard for professional studio work. This simple hardware keeps your signal clean, clear, and free from distracting environmental interference.
Different Types of Shock Mounts
Beginners and professionals may find suspension systems overwhelming. Choose hardware based on your microphone’s weight, shape, and recording environment. Whether you need a shock mount for blue yeti or universal condenser mic support, learn how each design works.
Elastic Shock Mounts
Elastic, or “spider,” mounts are common in studio recording. They use a series of flexible bands to suspend the microphone inside a frame. This design absorbs vibrations from your desk or boom arm in every direction.
Because the microphone floats, these mounts isolate low-frequency rumbles well. They are highly adjustable and suit users who want maximum vibration isolation during long recording sessions.
Metal Shock Mounts
Metal mounts are more rigid and durable than elastic designs. They may offer less flexibility than spider mounts, but they give heavier microphones a sturdy foundation. Many users choose them for their sleek look and long-term reliability in busy studios.
“The stability of your microphone mount is the silent partner in every great recording; it ensures that your signal remains pure and free from unwanted mechanical noise.”
Integrated Shock Mounts
Integrated systems offer convenience and a streamlined look. They are often built for one microphone model, ensuring a perfect fit without complex adjustments. One example is the Blue Radius III, a dedicated shock mount for blue yeti microphones.
These systems focus on compactness and ease of use. They suit streamers and podcasters who want a clean setup without traditional spider mounts’ bulk.
| Mount Type | Primary Benefit | Best For |
|---|---|---|
| Elastic | Superior Isolation | Studio Vocals |
| Metal | High Durability | Heavy Microphones |
| Integrated | Compact Design | Podcasting/Streaming |
Factors to Consider When Choosing a Shock Mount
Finding the best shock mount involves more than choosing a model that looks good on your stand. Evaluate how your gear works with the suspension system for strong performance. Researching these details can prevent frustration during recording sessions.
Microphone Compatibility
The critical factor is ensuring your microphone fits securely inside the cradle. Universal mounts offer flexibility but may isolate less than model-specific options. Precision fitment stops slipping and vibration during use.
Always check the mount’s weight capacity before buying. A heavy studio condenser needs a strong suspension system to prevent sagging. If unsure about your hardware, learn more about how to choose shock absorber mounting components to understand proper hardware support.
Mounting Options
Your choice must fit your existing studio setup. Most professional microphones and stands use standard 3/8-inch or 5/8-inch threading. Ensure the mount includes adapters for your boom arm or desk stand.
Also consider the mount’s angle adjustment. A high-quality unit allows smooth, small adjustments for ideal microphone placement. This flexibility helps capture clear audio in different recording environments.
Durability and Build Quality
Investing in the best shock mount means choosing materials like reinforced metal frames. Cheap plastic parts often break as elastic bands stay tense over time. Choose a product that offers long-term stability and reliable performance.
Examine the adjustment hardware and suspension bands. High-grade elastic materials hold tension longer and provide steady isolation. Strong clamps and locks help keep your expensive microphone safe and secure.
| Feature | Budget Mount | Professional Mount |
|---|---|---|
| Material | Lightweight Plastic | Reinforced Metal |
| Compatibility | Universal | Model-Specific |
| Adjustment | Limited | Precision Locking |
| Longevity | Short-term | Long-term |
The Benefits of Using a Shock Mount
Many beginners overlook isolation provided by a shock mount for condenser microphone unit, yet it remains vital for clear audio. Sensitive recordings can pick up hidden vibrations that harm signal clarity. By separating the microphone from its stand, the mount blocks outside disturbances before they reach the capsule.
Improved Sound Quality
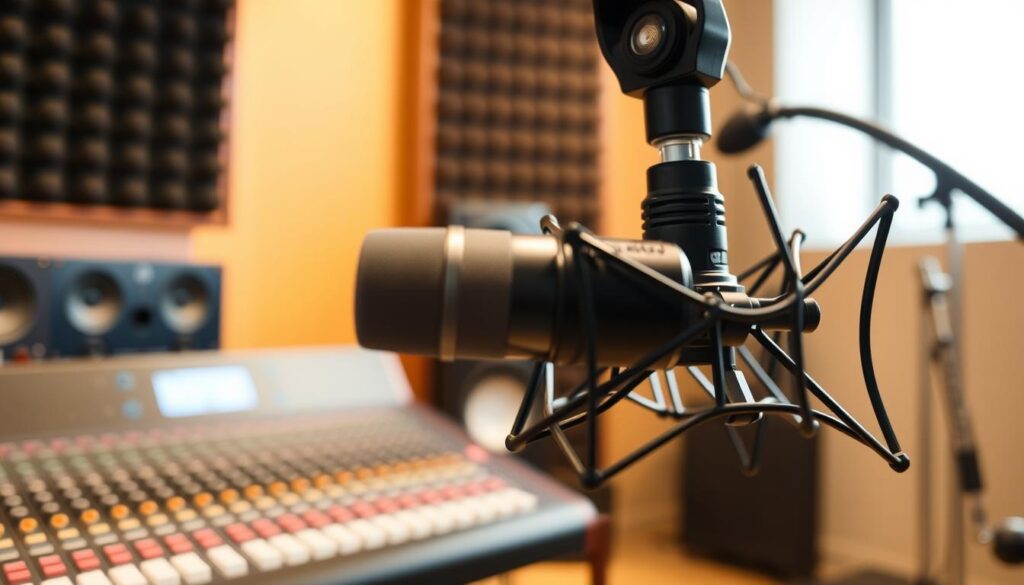
This hardware greatly reduces low-frequency rumble. Footsteps, traffic, and even a computer fan can send vibrations through a stand and muddy recordings. A well-designed shock mount for condenser microphone absorbs this energy, so only the intended sound reaches the diaphragm.
This isolation creates cleaner tracks and reduces heavy post-production cleanup. You will spend less time using aggressive high-pass filters or noise reduction plugins. A pure starting signal helps your final mix sound more natural and professional.
Increased Professionalism
Beyond sonic improvements, a dedicated mount shows commitment to high-quality production standards. Clients and collaborators recognize this professional setup and trust your technical skills. To upgrade, explore our top condenser microphone picks for home and studio options, then pair one with your mount.
Proper suspension depends on matching the mount’s elasticity to your microphone’s mass. This balance keeps damping effective across the full frequency spectrum. Compare these isolation methods to see why a dedicated mount offers the superior choice.
| Isolation Method | Vibration Reduction | Ease of Use | Professional Look |
|---|---|---|---|
| Standard Clip | Minimal | High | Low |
| Desktop Stand | Low | Medium | Low |
| Elastic Shock Mount | Excellent | Medium | High |
| Integrated Suspension | Superior | High | High |
Top Brands for Shock Mounts
When you search for a shock mount for podcasting, brand reputation soon becomes important. A trusted manufacturer often makes hardware that fits your microphone without extra adapters.
Established brands focus on isolation and stability, which help produce clear voice recordings. A dedicated mount protects your equipment during long recording sessions.
Rode
Rode is a well-known audio brand that makes easy-to-use tools for creators. Its products, including the Rode PSM1, work smoothly with popular broadcast microphones.
These mounts reduce vibration well, making them a dependable shock mount for podcasting. Their simple designs let you set up your gear in seconds.
Audio-Technica
Audio-Technica makes strong options for home studio fans and professional broadcasters. The AT8458 provides a secure grip that reduces unwanted mechanical noise.
Its team focuses on durability, so elastic bands and metal frames can handle daily use. This brand suits users seeking professional performance at an affordable price.
Heil Sound
Heil Sound earns respect for heavy-duty construction and professional-grade parts. Its mounts support larger, heavier microphones used in high-end radio and studio settings.
If you value long-term reliability, a Heil Sound product makes a smart investment. These mounts provide strong isolation, keeping audio clean in busy recording spaces.
| Brand | Best For | Key Feature |
|---|---|---|
| Rode | Beginners & Podcasters | Ease of installation |
| Audio-Technica | Home Studios | High build quality |
| Heil Sound | Professional Broadcast | Heavy-duty stability |
How to Install a Shock Mount
Secure microphone mounting is vital for every creator. For podcasts or streams, a properly installed shock mount for gaming microphone setup cuts unwanted vibrations. It keeps your audio crisp and free from mechanical noise.
Step-by-Step Guide
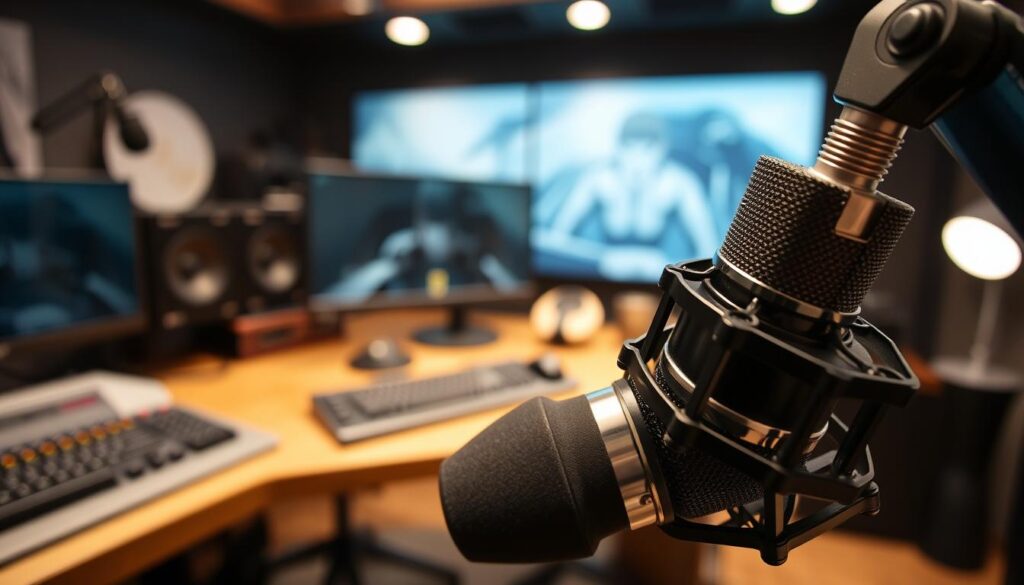
Installation is easy when you follow these steps. First, check that your boom arm or stand’s mounting thread matches the adapter.
- Screw the mount onto your stand or boom arm until it feels firm, but avoid over-tightening the threads.
- Carefully slide your microphone into the center of the cradle, ensuring it is balanced and secure.
- Tighten the locking mechanism gently to hold the mic in place without putting stress on the chassis.
- Connect your XLR or USB cable, leaving a small amount of slack to prevent pulling on the microphone.
Common Installation Mistakes
Even experienced users can make mistakes when they rush setup. One common error is using an incompatible mount for the device’s weight or diameter.
Watch out for these common pitfalls:
- Cable Tension: Pulling cables too tight can transfer vibrations directly to the mic, defeating the purpose of the mount.
- Handling Noise: Touching the mount or the stand while recording often creates audible thumps in your audio.
- Stability Neglect: Failing to perform a quick stability test can lead to your gear shifting during a live session.
Spend a few extra minutes checking your shock mount for gaming microphone configuration. This protects your equipment and improves sound quality. Check that the elastic bands are intact and the microphone sits centered in the frame.
Maintenance Tips for Shock Mounts
Protect your investment by learning how to clean and store your hardware. These devices are sturdy, but regular care protects their moving parts. Follow these simple steps to keep your equipment in top condition for years.
Cleaning Procedures
Routine cleaning removes dust and debris that can affect your suspension system. Use a soft, dry microfiber cloth to wipe the frame and metal parts regularly. If you use a shock mount with pop filter, detach the foam or mesh screen. Wash it with mild soap and water, then let it dry fully before reattaching.
Also inspect the mount’s internal parts. Check these areas during your cleaning routine:
- Elastic bands: Look for signs of fraying or loss of tension.
- Suspension clips: Ensure they are free of dust and move smoothly.
- Threaded adapters: Keep these clear of debris to ensure a secure fit on your boom arm.
- Clamps: Tighten any loose screws to prevent unwanted vibrations during recording.
Storage Recommendations
Proper storage helps preserve your gear as much as cleaning does. Remove the microphone from the mount after each session. Leaving a heavy microphone attached creates unnecessary stress on the elastic bands or suspension clips. This stress can make them sag or lose elasticity over time.
Store your equipment in a cool, dry place away from direct sunlight. If you use a shock mount with pop filter, store the filter separately to prevent bending or damage. A dedicated case or dust-free space can extend your hardware’s life and keep your studio professional.
How Shock Mounts Affect Mic Placement
When you use a shock mount for recording studio tasks, you gain more control over your microphone’s position. The mount keeps your equipment steady where you need it during long sessions. It blocks stand vibrations, so you can focus on capturing the best performance.
Best Practices for Positioning
Consistency builds professional audio. We recommend centering your microphone within the suspension system to ensure even weight distribution. This placement spreads weight evenly and stops the mount from sagging or changing your intended angle over time.
Watch cable tension closely. A tight cable can move the microphone or carry unwanted vibrations through the stand. Make a small loop in your XLR cable for slack. This keeps setups using the shock mount for recording studio effective and undisturbed.
Experimenting with Angles
Your microphone’s final position depends on the sound source and room acoustics. Dynamic microphones often work best closer to the source, while condenser microphones may need more distance to capture the space’s natural air. Before recording, Testing several angles is vital.
Think about how room reflections interact with your microphone’s polar pattern. Changing the capsule’s angle can reduce unwanted bleed and harsh room sounds. Using a high-quality shock mount for recording studio work lets you make small adjustments confidently. The microphone stays locked in place throughout your entire take.
Popular Use Cases for Shock Mounts
The environment often decides whether a shock mount is a luxury or a necessity for our audio setup. Quiet recording spaces may not need one, but vibrations can ruin a clean take. These factors help us decide when to buy extra isolation gear.
Studio Recording
In a controlled studio, we use shock mounts to remove low-frequency rumble. Condenser microphones are very sensitive to these vibrations, so mounts help with professional voice-over, podcasting, and streaming. Even a desk bump or heavy footstep can travel through the stand to the mic’s sensitive diaphragm.
Dynamic microphones are often stronger and resist minor vibrations. With a sturdy, isolated desk, a dynamic mic may work well without a shock mount. However, for high-stakes recording, every detail matters, so a mount is almost always worth the investment.
Live Performances
Live settings create different challenges for our equipment. On stage, we face constant movement, speaker vibrations through the floor, and accidental bumps to the microphone stand. A shock mount acts as a critical buffer, keeping stage noise from reaching the microphone.
During live performances, we must also consider cable handling and stand stability. A high-quality shock mount separates the microphone from the stand, so the audience hears our voice, not stage noise. Choosing the right mount can greatly improve our live sound.
| Environment | Vibration Risk | Mic Sensitivity | Mount Necessity |
|---|---|---|---|
| Home Studio | Low | High (Condenser) | Recommended |
| Professional Podcast | Medium | High (Condenser) | Essential |
| Live Stage | High | Low (Dynamic) | Highly Recommended |
| Voice-Over Booth | Very Low | High (Condenser) | Essential |
Budget Considerations
Balancing cost and professional isolation is a key step when building your home studio. Every dollar counts as you assemble your recording setup. Evaluate what you need before paying for luxury features.
Many creators think a higher price always means better performance. Yet affordable options often provide excellent vibration control for standard microphones.
Price Range of Shock Mounts
These accessories cover a wide market, from entry-level models at $19.99 to premium versions costing $80 or more. Lower-priced mounts use basic elastic bands and plastic frames. They often work well for light, handheld use or stationary podcasting setups.
From $50 to $80, build quality improves significantly. These mounts may use aircraft-grade aluminum and high-density rubber suspensions. Better threading adapters also fit more microphone stands and boom arms.
High-End vs. Budget Options
Consider product longevity when choosing a budget-friendly mount or a high-end alternative. Budget models may need frequent maintenance because elastic bands lose tension over time. Premium mounts offer long-term durability and often have replaceable suspension components.
“The true value of audio equipment is found not in the price tag, but in how effectively it solves the specific acoustic challenges of your recording environment.”
Adjustability also separates these price tiers. Higher-end mounts usually provide precise angle adjustments and stronger locking mechanisms. Your microphone stays in position, even during long recording sessions.
| Feature | Budget ($20) | Mid-Range ($50) | High-End ($80+) |
|---|---|---|---|
| Material | Plastic/Light Metal | Sturdy Aluminum | Premium Steel/Alloy |
| Suspension | Standard Elastic | Reinforced Rubber | Custom Tension System |
| Compatibility | Limited | Universal Adapters | Broad/Custom Fit |
| Durability | Moderate | High | Professional Grade |
Your choice should match your microphone’s weight and recording environment’s intensity. A budget mount will likely suit a casual podcaster. For sensitive vocals in a professional studio, a high-end model offers the peace of mind and isolation you need.
Conclusion: Making Your Choice
Choosing the right gear can turn your recording space into a professional studio. Check your microphone’s size, weight, and thread type before buying. The right match keeps your equipment stable during every session.
Summary of Essential Considerations
Reliable isolation is the main goal when choosing brands like Rode or Audio-Technica. Choose secure construction and verified compatibility instead of focusing on appearance. A sturdy mount supports clear, noise-free audio production.
Practical Steps for Success
Shock mounts reduce vibrations and handling noise, but proper room control also matters. Manage cables carefully to prevent unwanted tension on your microphone. Test the complete setup before recording to ensure every component works correctly.
Quality hardware improves the final mix. This guide can help you build a reliable recording space that captures every detail. Contact your local audio retailer to compare models and find the right fit for your microphone.