
 Zoe Nora
Did you know over 70% of home theater systems don’t reach their full potential? This is because of untreated room acoustics. Most people think turning up the volume makes it better, but it’s not that simple. Using a professional audio calibration tool can fix these hidden sound issues.
True high-fidelity sound needs more than just expensive gear. It requires precise adjustments to speaker levels, timing, and frequency response. An effective audio calibration tool helps achieve the balanced, immersive sound we all want.
In this guide, we’ll show you how to perfect your setup. We’ll cover everything from choosing the right equipment and microphone placement to mastering room treatment and personal sound preferences.
Key Takeaways
- Room acoustics significantly impact your overall sound quality.
- Calibration addresses timing and frequency issues beyond simple volume.
- Proper microphone positioning is vital for accurate data collection.
- Room treatment helps minimize unwanted echoes and standing waves.
- Personalizing your settings ensures a tailored listening experience.
What is an Audio Calibration Tool?
Getting great sound is more than just buying expensive gear. It’s about fine-tuning your system. Many think setting up a sound system is easy, just plug in cables and turn the volume up. But, true quality comes from aligning your components technically.
Defining Audio Calibration
Audio calibration is all about measuring and adjusting your listening space. It’s not just about turning up the volume. It’s about making sure every speaker works well together with your room’s acoustics.
This means balancing sound levels and fixing frequency issues from walls and furniture. By syncing speaker timing, we make sure sound reaches you at the same time. This creates a unified and accurate soundstage that makes music come alive.
“The goal of calibration is to remove the room’s negative influence, allowing the listener to hear the recording as the artist intended.”
Importance of Audio Calibration
Just relying on your ears can be tricky. Our brains often adjust to poor sound quality. Using tools for objective measurements gives you a dependable starting point before adding your personal touch.
A calibrated audio system finds and fixes hidden acoustic problems. Fixing these issues lets your equipment shine, giving you a balanced, professional sound.
By investing time in calibration, you turn a basic setup into a top-notch sound environment. Your music and movies will sound clear, detailed, and perfectly placed in your space.
Benefits of Using an Audio Calibration Tool
Room acoustics can greatly affect our listening experience. A well-calibrated system lets us hear music as the creators meant. This is key for anyone wanting top-notch sound at home.
https://www.youtube.com/watch?v=1paV2Uygv7s
Enhanced Sound Quality
Using these tools boosts sound quality improvement right away. They adjust sound waves to our room’s layout, cutting down on muddiness. This makes the sound clearer and more balanced.
“Calibration is the difference between hearing a recording and feeling like you are sitting in the studio with the artist.”
Accurate Soundstage
These tools also enhance the accurate soundstage. They ensure speakers are in sync, making the music feel real. We can pinpoint where each sound comes from.
- Precise Imaging: Clearly defined locations for every sound source.
- Depth Perception: A sense of distance between the foreground and background elements.
- Consistency: Uniform audio quality across multiple seating positions.
Improved Listening Experience
The ultimate goal is an immersive audio experience. When timing and volume are perfect, our brain relaxes. This turns casual listening into a rich experience.
| Feature | Before Calibration | After Calibration |
|---|---|---|
| Frequency Balance | Uneven/Boomy | Flat/Neutral |
| Imaging | Blurred | Sharp/Defined |
| Immersion | Disconnected | Cohesive |
Investing time in calibration ensures our gear performs at its best. Whether it’s a movie or music, the accurate soundstage and sound quality improvement enhance our enjoyment. It’s the best way to ensure an immersive audio experience every time.
Types of Audio Calibration Tools Available
Whether you’re a casual listener or a studio engineer, knowing your tools is key. We sort these tools by their main job. This includes digital processing and physical devices.
Software-Based Tools
Calibration software is a must for modern setups. It analyzes and fixes frequency issues. This sound engineering software creates special profiles to tweak the sound before it hits your speakers.
These programs are great at fixing room modes and phase problems. They use digital filters to keep your audio flat and true across all frequencies.
Hardware Calibration Solutions
Software does the processing, but hardware gives the needed data. A top-notch calibration microphone is key. It records sound pressure levels in your space.
Some systems, like Genelec SAM, mix software with special hardware. This combo offers automated calibration for your room and monitor setup.
- SPL Meters: Check sound pressure levels for balanced volume.
- Measurement Microphones: Capture precise frequency data.
- DSP Processors: Apply correction filters in real-time.
Apps for Mobile Devices
Mobile apps offer a simple way to tune your system. They use your phone’s mic for quick room checks.
Though not as deep as calibration software, they’re great for basic tweaks. They have easy-to-use interfaces for better sound without needing tech skills.
How to Choose the Right Audio Calibration Tool
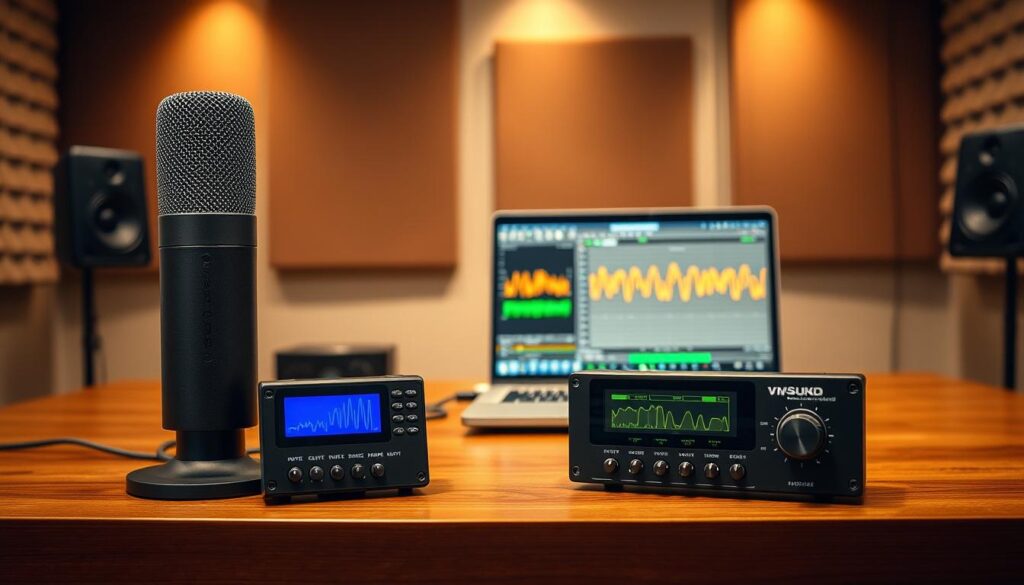
Choosing the right calibration tool is about finding a balance. It’s about technical power and how it fits into our workflow. Before buying audio calibration software, we need to know what our listening space needs.
Consider Your Setup
First, we need to figure out our setup. Are we working in a home theater, a professional studio, or just a desktop? A speaker calibration tool for a big room might not be right for a small setup.
Look for tools that let you adjust settings for your specific space. Studio pros need clear sound, while home theater fans want a wide soundstage.
User-Friendliness
Not everyone wants a complicated setup. It’s important to check how easy a tool is to use, even if you’re new to audio correction.
“The best tool is the one that allows you to achieve professional results without forcing you to become an acoustic engineer overnight.”
Some tools make adjustments easy with just one click. Others let you tweak every detail. Choose what fits your skill level and schedule.
Compatibility with Audio Equipment
It’s crucial to check if the tool works with our equipment. We don’t want to spend money on features our gear can’t handle. Make sure our interface, microphones, and speakers work well with the tool.
| Tool Type | Best For | Key Benefit |
|---|---|---|
| Software-Based | Studio/DAW | High Precision |
| Hardware-Based | Home Theater | Real-time Correction |
| Mobile Apps | Casual Listening | Ease of Use |
In the end, focus on equipment compatibility to get the most out of your tool. A speaker calibration tool that works with your gear will make listening better.
Steps to Calibrate Your Audio System
Calibration is key to a great audio experience. It makes sure every part of our system works together. Our audio calibration guide helps you get started.
Initial Adjustments
First, we set up our speakers and listening area. We make sure everything is symmetrical for balanced sound. We measure the distance from each speaker to our listening spot.
Then, we adjust the volume levels so they’re all the same. An SPL meter helps us check if each speaker is balanced. This step helps avoid mistakes later on.
Using Calibration Software
With our setup ready, we use an audio measurement device to measure the room’s sound. We place a measurement microphone at ear level in our listening spot. It’s important to keep the room quiet during this step.
“The goal of calibration is not to change the character of your speakers, but to remove the negative influence of the room itself.”
The software then sends out test sounds. The measurement microphone captures how these sounds interact with our environment. This data helps the software find and fix any sound issues.
Fine-Tuning Settings
After the software gives us its first report, we check if it matches our taste. We apply the suggested changes carefully. Sometimes, we need to make small adjustments by hand to keep the sound natural.
By following these audio system calibration steps, we can get a top-notch sound. We listen to music we know well to see if the changes have made a difference. If it sounds too perfect, we adjust the sound until it feels just right.
Common Mistakes in Audio Calibration
Often, the biggest sound quality issues aren’t with electronics but with the physical space. Software can do a lot, but it can’t fix a room that’s not right for listening.
Ignoring Room Acoustics
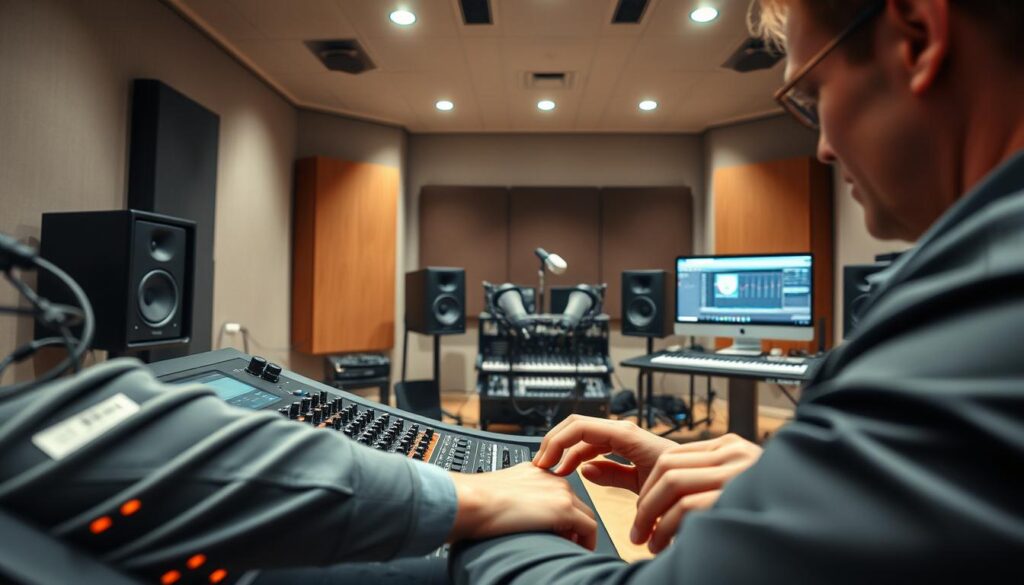
Many people use a room acoustics tool to fix sound problems without changing the room. But if your room has too much echo or standing waves, software can’t make it sound natural.
To really improve sound, start with physical changes. Adding room treatment, like bass traps or acoustic panels, helps manage reflections before you use digital tools.
Overcomplicating Settings
It’s easy to get lost in the details of advanced software. But sometimes, simplicity is better. Before messing with complex settings, focus on the basics of speaker placement.
Moving your speakers a few inches can improve your soundstage more than hours of digital tweaking. Always prioritize physical positioning to make sure your speakers are aimed right at your listening spot.
Neglecting Regular Calibration
Calibration isn’t something you do once and forget. Your audio environment changes, and these changes can affect your system’s sound over time.
Do a new calibration whenever you move furniture, upgrade your audio gear, or notice a change in sound. Consistency is key to keeping your sound quality high.
Understanding Audio Calibration Terminology
Learning the language of sound engineering is key to a perfect listening space. When you start with an audio analysis tool, you’ll see special metrics. These terms help you make smart choices during setup.
Frequency Response
The frequency response shows how speakers handle sound from low bass to high treble. A good system should play all sounds at the same volume.
But, your room can affect sound, causing peaks and dips. An analysis graph helps spot these issues. It shows which sounds are too loud or too quiet.
Decibel Levels
Decibel levels measure sound intensity. Keeping sound levels even across speakers is crucial for a balanced sound.
If one speaker is too loud, it can shift the sound focus. Aim to balance levels so every speaker adds equally to your sound experience.
- Reference Level: The standard volume for mixing and mastering.
- Gain Staging: Managing signal levels to avoid distortion.
- SPL (Sound Pressure Level): The physical pressure of sound waves in your room.
Room Correction
Room correction uses digital filters to fix acoustic problems. These filters adjust speaker output to counteract room issues.
Advanced algorithms help smooth out harsh reflections and muddy bass. This makes your sound cleaner and more accurate, closer to the original recording.
Reviews of Popular Audio Calibration Tools
Choosing the right audio calibration tool can be tricky. It depends on your audio goals. Whether you’re a professional producer or a home cinema fan, the right software can make a big difference. Here, we look at three top solutions for different needs and settings.
Sonarworks SoundID Reference
Sonarworks SoundID Reference is a top choice for studios. It supports both headphones and speakers. This audio mixing software keeps your sound system flat and neutral.
It’s great for producers who need to rely on their ears. Its custom target curves give you precise control over your sound environment.
Dirac Live
Dirac Live is perfect for high-end home theaters and listening rooms. It corrects impulse responses for a better soundstage and clearer imaging. This makes your speakers sound amazing.
It needs some technical setup, but the results are worth it. It’s ideal for audiophiles who want top-notch room correction at home.
Audyssey MultEQ
Audyssey MultEQ is easy to use and great for beginners. It’s often found in popular home theater receivers. This audio mixing software makes calibration simple with its automated steps.
It balances speaker levels and distances easily. It’s perfect for those who want better sound without the need for complex knowledge.
| Tool | Primary Use | Best For |
|---|---|---|
| Sonarworks SoundID Reference | Studio/Headphones | Producers & Engineers |
| Dirac Live | Home Theater/Hi-Fi | Audiophiles |
| Audyssey MultEQ | Home Theater | Casual Listeners |
Frequently Asked Questions About Audio Calibration
Many people ask us about keeping their sound systems in top shape. They want to make sure their setup sounds its best. But, they’re not always sure about the technical steps needed for sound system calibration.
How often should I calibrate my audio system?
You don’t need to calibrate every day. But, it’s important to do it regularly. We suggest calibrating whenever you change your listening space a lot.
- Moving your speakers to a new location.
- Adding or removing large furniture, such as rugs or bookshelves.
- Upgrading a core component of your audio chain.
- Noticing a shift in the tonal balance of your room.
If your room stays the same, a check every 6-12 months is enough. This keeps your system running at its best.
Can I use a calibration tool on any speakers?
Many tools work well, but not all speakers are compatible. Most tools need special microphones and hardware to work right.
Check if your gear can handle the tool before buying. Some tools only work with certain brands. Others are more flexible, working with many setups.
Is professional calibration worth it?
For most people, software tools are great. But, there are times when professional audio calibration is worth it.
If your room is tricky, like with bad reflections or standing waves, a pro can help. Professional audio calibration includes manual tweaks and special treatments. These go beyond what software can do, making your sound system calibration spot on.
Tips for Maintaining Optimal Sound Quality
Great sound is a journey, not a one-time thing. Even the best setup can change over time. By staying on top of things, we keep our sound systems sounding their best.
Regularly Check Settings
It’s smart to check your system settings often. This keeps your optimal sound quality in check. Any changes in your room or setup can mess with your sound.
Here are some key things to check:
- Channel levels: Make sure each speaker is balanced right.
- Crossover points: Check that your subwoofer and speakers are passing on frequencies smoothly.
- Calibration profiles: Make sure your saved settings are still active, not changed by updates.
Invest in Quality Equipment
Good audio equipment maintenance is more than just settings. The physical parts of your system are crucial for everyday sound.
Here are some hardware must-haves:
- Use top-notch, shielded cables to avoid signal problems.
- Get power conditioning to protect your gear from power issues.
- Use reliable microphones for occasional checks.
Consistency is key with hardware. If your sound changes, check your connections first. Make sure they’re tight and clean.
Keep Your Space Optimized
Your room is part of your audio setup. Good listening room optimization means keeping your space in check.
Acoustic treatments can wear out or change. Check your panels and bass traps often. Keep your listening area tidy to avoid sound problems. A stable environment helps keep your sound system in top shape.
Future Trends in Audio Calibration Technology
The world of sound engineering is moving towards smarter systems. Automated audio calibration is becoming more common. It makes sure your sound environment is always right, no matter your equipment.
AI and Machine Learning Integration
Today’s software uses artificial intelligence to quickly analyze sound. It works with sound calibration software to make corrections that sound natural. These smart algorithms adjust to your space, ensuring accurate sound everywhere.
Wireless Calibration Methods
Wireless audio calibration is becoming more popular. It makes testing faster and easier. This method helps studios keep high standards without the mess of wires.
User-Centric Tools and Features
Future tools will focus on personalized sound profiles. They will work with all kinds of audio systems. While these tools make things easier, remember to also focus on microphone placement and room treatment. Mastering these basics with modern software will give you the best results for your work.