
 Zoe Nora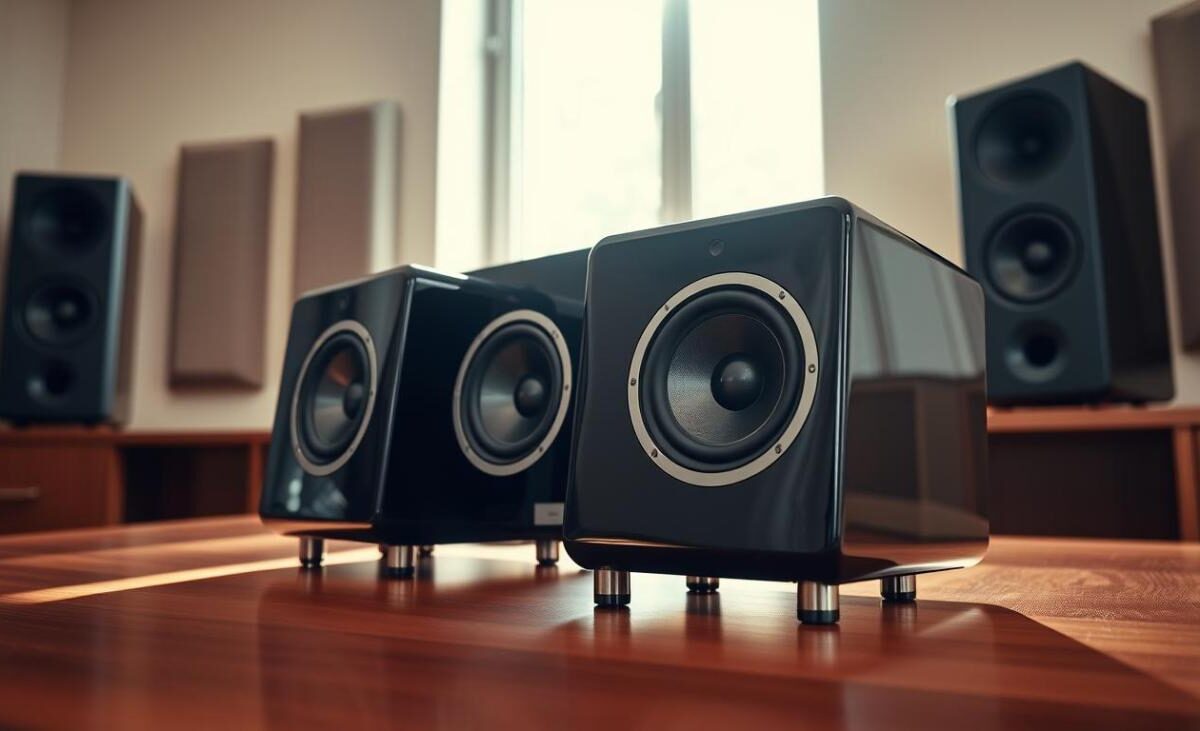
More than 80% of home recordings suffer from poor mix translation because playback systems lack accuracy. Many producers blame their software, but inaccurate playback often causes the problem.
We believe that Studio Monitors help you hear balance, detail, and stereo placement. They reveal tonal problems that standard consumer gear can hide.
Remember that affordable studio monitor speakers are practical aids for beginners, not magic fixes for weak arrangements. Choose gear based on your budget, room conditions, and connection needs.
The right equipment gives you the clarity needed for professional decisions. Let us explore how to find the best value for your creative space.
Key Takeaways
- Accurate playback is vital for identifying mix errors and tonal imbalances.
- High-quality reference gear improves how your music translates to other systems.
- Budget-friendly options provide a great starting point for home producers.
- Room acoustics play a massive role in how your audio equipment performs.
- Always consider your specific connectivity needs before making a final purchase.
Understanding Studio Monitors and Their Importance
A professional mix needs equipment that tells the truth about your sound. Unlike standard speakers made to make music pleasant, Studio Monitors provide a transparent, uncolored view of your audio.
When we work on a project, we need to hear every detail, including flaws and imbalances. professional audio monitors keep our creative choices accurate, without artificial enhancement.
What Are Studio Monitors?
These Studio Monitors are purpose-built tools that provide a reliable reference during production. They aim for a flat frequency response, without boosting bass or treble to make audio sound “better” than it is.
Their neutral playback environment helps us find mix problems that might otherwise go unnoticed. This precision matters to anyone serious about music production or sound engineering.
Key Features to Look For
When selecting your gear, several technical features affect how well you can monitor your work. Consider these elements to ensure your setup meets your specific needs:
- Driver Size: Larger woofers generally provide deeper bass, while smaller ones are better for compact spaces.
- Room EQ Controls: These allow you to adjust the output to compensate for your room’s unique acoustic properties.
- Internal Amplification: Active monitors include built-in power, which simplifies your setup and ensures optimal performance.
- Port Design: Front-ported monitors are often easier to place near walls without causing unwanted bass buildup.
| Feature | Why It Matters | Impact on Sound |
|---|---|---|
| Flat Response | Neutrality | Accurate mixing decisions |
| Active Power | Efficiency | Matched amp and driver |
| Room EQ | Calibration | Corrects acoustic issues |
| Driver Size | Frequency Range | Determines bass extension |
The Top Affordable Studio Monitors on the Market
Choosing an audio setup means balancing your budget with your sound needs. Many manufacturers now offer professional-grade sound at prices for almost every budget, making it easier to find the best studio monitors for your space.
Brands That Deliver Quality
Several brands stand out for consistent performance when you need reliable recording studio speakers. Yamaha and Focal often earn praise for their neutral, transparent sound, which suits critical mixing.
Brands such as KRK and JBL offer punchy, colored sound for listeners who want more excitement. ADAM Audio and Kali Audio have become popular by offering high-end features at lower prices. Your studio speaker system choice depends on accuracy or a more musical listening experience.
Price Range You Can Expect
A quality setup costs less than many beginners expect. You can find a decent studio speaker system starting near $100 with entry-level models. Higher prices bring better components, more connections, and improved frequency response.
Most professional-grade recording studio speakers for home use cost $300 to $800 per pair. Within this range, the best studio monitors often offer the strongest long-term value for a home studio.
| Brand | Sound Character | Best For |
|---|---|---|
| Yamaha | Neutral | Critical Mixing |
| KRK | Colored/Punchy | Electronic Music |
| Kali Audio | Balanced | Budget Accuracy |
Sound Quality: What Makes a Good Studio Monitor?
We often study technical specifications, but the true test of professional audio monitors is sonic honesty. During a mix, you need a speaker that reveals your audio instead of making it sound pleasant. For more guidance, read how to choose studio monitors for excellent insight into your workflow’s best fit.
Frequency Response Explained
Frequency response describes how a speaker handles the audible spectrum, from deep sub-bass to high treble. High-quality studio monitors reproduce these frequencies with as little coloration as possible. If a speaker boosts the bass, you might mix with too little low-end, creating thin results on other systems.
To understand your monitors, consider these three primary ranges:
- Low Frequencies: The foundation of your mix, including kick drums and bass guitars.
- Mid Frequencies: Where most instruments and vocals live; clarity here is essential for a balanced sound.
- High Frequencies: The “air” and detail of your track, which can become harsh if the monitor is not accurate.
Importance of Flat Response
A flat frequency response is the gold standard for professional audio monitors. This means the speaker does not artificially boost or cut any frequency range. With flat monitors, you can adjust EQ and compression confidently, knowing your recording sounds as intended.
Some speakers are “voiced” to sound exciting, but that choice can trap engineers. A monitor that sounds impressive in isolation may hide mix flaws that appear later. Choose high-quality studio monitors with a neutral profile so your choices translate to car stereos, headphones, and club systems.
Choosing the Right Size for Your Studio
Balancing speaker size with room acoustics is vital for accurate monitoring. Many beginners think bigger is better, but that rarely works in a home studio. Before you buy studio monitors, focus on your workspace size instead of raw power.
Small vs. Large Monitors
Smaller monitors, usually with 4 to 5-inch woofers, suit compact bedrooms or small home offices. They produce focused sound and keep low frequencies from overwhelming a confined space. Larger recording studio speakers, including models with 8-inch drivers, can cause excess bass buildup in untreated rooms.
This effect, often called “room mode,” happens when low frequencies bounce off walls, creating muddy, inaccurate sound. A monitor that is too large may force you to keep adjusting your mix for balance. In a limited area, Precision is far more valuable than sheer volume.
“The goal of any monitor setup is to achieve a flat, honest representation of your audio. If your room is too small, a massive speaker will only mask the details you need to hear.”
Room Acoustics Considerations
Room size is only one concern; you must also consider how sound waves interact with it. Before you buy studio monitors, check your setup and leave enough space for proper placement. Several factors affect how your recording studio speakers perform in your environment:
- Listening Distance: Ensure you can maintain an equilateral triangle between your ears and the speakers.
- Rear Ports: If your monitors have rear-facing bass ports, keep them away from walls to avoid unwanted resonance.
- Acoustic Treatment: Adding bass traps and foam panels can help mitigate the issues caused by larger speakers in small rooms.
Your goal is a neutral listening environment. Matching your equipment to your room helps ensure your mixing decisions translate across playback systems. Measure your space carefully before making a final investment in audio gear.
Active vs. Passive Studio Monitors
When you set up a home studio, you must choose between active and passive speaker designs. This choice affects your signal chain, budget, and workspace size. Choosing the right studio monitors for mixing requires knowing how each system handles power and signal processing.
Pros and Cons of Each Type
Active monitors, also called powered monitors, have built-in amplifiers matched to their drivers. This design provides optimal performance because manufacturers calibrate crossover and power delivery. You plug them into an outlet and connect your audio interface, making them convenient for most users.
Passive monitors require an external power amplifier to work. This adds setup complexity but offers greater flexibility for future upgrades. You can choose an amplifier that suits your sonic preferences, but its power output must match the speakers.
| Feature | Active Monitors | Passive Monitors |
|---|---|---|
| Amplification | Built-in | External |
| Setup Complexity | Low | High |
| Upgrade Path | Limited | High |
Ideal Use Cases for Both
If you want a simple workflow, active studio monitors for mixing are usually the best choice. They suit home studios with limited space and reduce extra cables and bulky amplifiers. Most modern producers prefer this “all-in-one” approach for its reliability and ease of use.
Professional control rooms and audiophiles often favor passive systems for signal-chain customization. If you own a high-end power amplifier, passive speakers let you add that gear to your monitoring setup. Both designs can deliver excellent results when you choose studio monitors for mixing that suit your room acoustics and goals.
Connectivity Options for Studio Monitors
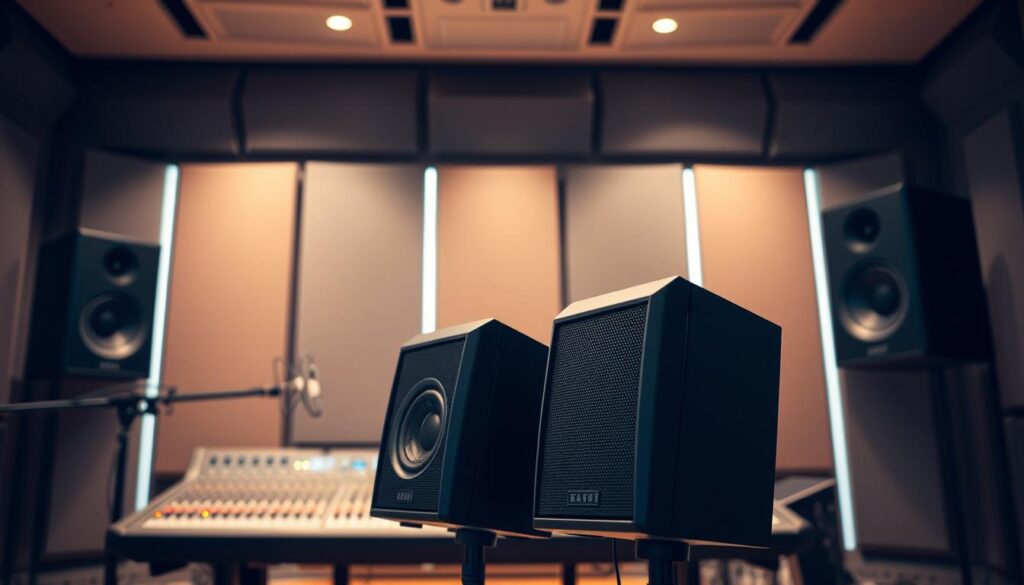
Your studio speaker system needs the right cables for its best performance. Before finalizing your setup, check your monitors’ inputs and audio interface outputs. Matching these parts creates a clean, professional signal path.
Wired Connections
Most professional setups use balanced connections to reduce unwanted noise and interference. Balanced cables, such as XLR or TRS, carry the audio signal and a phase-inverted copy. This design cancels electromagnetic hum and maintains audio integrity in a busy studio.
If your equipment lacks balanced ports, you may find unbalanced options like RCA or 3.5mm jacks. These common consumer electronics connections pick up more interference over long distances. We recommend these practices for your studio speaker system:
- Always use shielded cables to prevent signal degradation.
- Keep cable runs as short as possible to reduce the risk of picking up external noise.
- Check your interface manual to confirm if your outputs are line-level, as this is standard for active monitors.
- Ensure your power requirements match the voltage standards of your region to avoid ground loops.
Wireless Options
Wireless technology is becoming more common, but it is rarely the first choice for critical listening. Bluetooth often adds latency, making real-time recording or mixing nearly impossible. If you add a wireless studio speaker system, ensure it supports high-quality codecs to maintain fidelity.
Wireless options work better for casual playback than professional production tasks. If you must go wireless, choose dedicated high-fidelity transmitters that minimize delay. Prioritize a stable, wired connection when your workflow requires precision and accuracy.
Placement Tips for Optimal Sound
Even the most expensive studio monitor speakers can fail when positioned incorrectly. A balanced frequency response needs more than high-quality hardware; it also needs a thoughtful workspace setup. By improving your setup, you can hear mix details hidden by poor room acoustics.
Height and Angle Considerations
For accurate monitoring, align the tweeters with your ears. At your desk, high-frequency drivers should match your head height, so you hear the full sound spectrum. If desk space is limited, consider using best wall mount speakers for home and office to achieve perfect elevation.
Once the height is set, focus on the angle of your studio monitor speakers. Form an equilateral triangle between both speakers and your listening position. Angle each monitor toward your head to create a precise stereo image and place instruments accurately within the soundstage.
Distance from Walls
Speakers placed too close to a wall can cause unwanted bass buildup and muddy low frequencies. Keep your monitors at least a few feet from the front wall to reduce boundary interference. If you must place them near a wall, use acoustic treatment to absorb reflections.
Also, watch your desk surface because it can create early reflections that smear sound. Isolation pads under your studio monitor speakers can separate them from the desk, creating tighter, more professional sound. These small steps can improve audio clarity without requiring a major investment in new gear.
Maintenance and Care for Studio Monitors
Regular maintenance helps your high-quality studio monitors perform well for years. A simple routine protects your investment and keeps your audio accurate and reliable. These small steps can prevent costly repairs or replacements later.
Cleaning Your Monitors
Dust is the main enemy of sensitive audio equipment. Use a soft, dry microfiber cloth to gently clean the cabinets and areas around the drivers. Never use harsh chemicals or liquid cleaners on speaker cones; they can damage delicate materials.
Proper ventilation also protects your high-quality studio monitors. Keep the rear ports clear to prevent overheating during long mixing sessions. Check your cables regularly for wear or fraying to maintain a clean signal path.
Troubleshooting Common Issues
If you hear unexpected hums or missing output, check your signal chain first. Swap out your cables to rule out simple connection failures. If the problem continues, use a different power outlet to eliminate possible ground loop issues.
Distorted playback or uneven levels often point to settings in your audio interface or software. Excessive bass buildup may come from room acoustics, not the hardware. Use acoustic treatment or reference headphones to find whether the issue comes from the monitor, connection, or room.
Follow safe power practices: turn your monitors on last and off first in your signal chain. This habit prevents damaging pops from reaching your speakers. Treat your high-quality studio monitors with care, and they will deliver consistent, professional sound every time you work.
Conclusion: Making the Right Choice for Your Sound
Choosing the right gear improves your creative process and strengthens your final mix. Consider your room size, budget, and audio needs before buying. You can find the perfect speaker stand for a stable, accurate setup.
Final Thoughts on Budget-Friendly Options
Affordable models from PreSonus, Mackie, and JBL can deliver professional results. These units often rank among the best studio monitors after you learn their unique sound. Regular listening helps you understand how your tracks sound on other playback systems.
Encouragement to Test Before You Buy
Audition your top choices in your own workspace whenever possible. Use familiar reference tracks to test low-end clarity and high-frequency detail.
This hands-on approach helps you buy studio monitors that fit your ears and environment. A retailer with a solid return policy helps you choose studio monitors for mixing with confidence.