
 Zoe Nora
Did you know that over 100,000 new songs are uploaded to streaming platforms every single day? In this crowded world, your music must sound professional on every device, from high-end studio monitors to basic smartphone speakers.
Many beginners think mastering only makes a song louder. In reality, it refines your audio track through careful preparation, tonal shaping, and dynamics control. This final polish helps your music sound consistent across all listening environments.
Achieving professional results requires fresh ears, accurate monitoring, and consistent practice. To learn how to master your track in 5 steps, use our practical guide to refine your sound. Focus on balance and clarity to transform a raw mix into a polished, release-ready masterpiece.
Key Takeaways
- Mastering ensures your music sounds consistent across all speakers and streaming services.
- The process involves more than just increasing volume; it requires tonal and dynamic balance.
- Professional results depend on using accurate monitoring and taking breaks to keep your ears fresh.
- Proper preparation and headroom management are essential before applying final limiting.
- Consistent practice and careful listening are the best ways to improve your technical skills.
Understanding the Basics of an Audio Track
Understanding a finished sound file is the first step toward a commercial-grade master. We view an audio track as a complete, mixed file ready for final distribution or playback. It captures our creative work in one digital container.
What is an Audio Track?
At its core, an audio track is a finalized sound recording that has been balanced and processed. It is the definitive version of a project, such as a song, lecture, or cinematic soundscape. At this stage, the project is no longer separate instruments or vocal takes.
“The master is the final gatekeeper of your sonic vision, ensuring that every detail translates perfectly to the listener’s ears.”
Different Types of Audio Tracks
We encounter media forms that need different approaches during the final stage. Music tracks often need wide dynamic range and punchy transients for streaming platforms. Podcasts and voiceovers instead prioritize clarity and vocal presence so listeners understand the message.
Each type of sound recording has unique needs based on its intended environment. For instance, a broadcast advertisement must follow strict loudness standards, while ambient music may focus on spatial depth. Recognizing these differences helps us choose the right tools.
Importance of Quality in Audio Tracks
Mastering is not a magic wand for poor production choices. Because processing affects the entire mixed file, we cannot easily isolate or repair instruments baked into the final mix. High-quality source material forms the foundation of a successful master.
If the initial sound recording contains harsh frequencies or muddy textures, final polishing may amplify these issues. We strive to achieve the best possible mix before mastering. Quality control at every step helps our output sound professional across all playback systems.
Essential Tools for Audio Track Mastering
To process your music file well, learn the essential tools of the trade. High-end gear can help, but reliable monitoring matters most. You must hear your audio clearly to make informed decisions.
Software Options for Mastering
A Digital Audio Workstation (DAW) forms the foundation of your digital setup. It lets you arrange, edit, and process your music file with precision. Learn more by visiting how to master a song to refine your workflow.
Beyond your DAW, you need high-quality plug-ins for equalization, compression, and limiting. Advanced metering tools provide visual feedback on loudness and frequency balance. These digital tools help your final output meet industry standards.
Hardware You Might Need
Choose hardware for accuracy, not flashiness. A pair of flat-response studio headphones or calibrated monitor speakers is essential for hearing your audio clearly. Without accurate monitoring, your adjustments may not translate well to other playback systems.
An audio interface connects your computer and speakers. Basic acoustic treatment also reduces room reflections that can change what you hear. These physical tools help every music file you process sound consistent across different environments.
Free vs. Paid Tools
Many beginners use free software to learn audio processing basics. These tools show how EQ and compression affect a music file without a large financial commitment. They provide a solid foundation for aspiring engineers.
Paid plug-ins often include advanced features such as specialized presets, surgical controls, and detailed metering. These tools can speed your workflow, but they cannot replace skill. Great results come from knowing your tools, whether they are free or premium.
Preparing Your Audio Track for Mastering
Proper preparation is often overlooked in professional audio production. Before processing your audio clip, make sure your project is clean and well organized. A messy session can cause technical errors that become hard to fix later.
How to Organize Your Files
Create a dedicated folder for your project. Store original session files, stems, and final exports in separate, clearly labeled subfolders. Always keep a session backup to protect your work from accidental data loss.
Use consistent names for every file. This habit saves time when you need a specific mix version. Clear labels keep you focused on creativity instead of cluttered folders.
Setting the Right Levels
Proper gain staging helps maintain high fidelity. Leave about -3 to -6 dB of headroom on your master fader. This prevents digital clipping and gives your processors room to work well.
Avoid normalization when creating your pre-master file. It can change the natural dynamics of your audio clip and limit mastering options. Instead, keep your signal clean and transparent throughout the chain.
Importance of Mixing Before Mastering
Mastering enhances a finished mix; it does not fix basic balance problems. If your mix lacks balance, mastering cannot make it sound professional. Always finalize your mix before moving to the next production stage.
When exporting, use a high-quality format such as 24-bit WAV or AIFF. These lossless formats preserve the integrity of your audio clip and provide the best source material for mastering tools. These steps create a strong foundation for polished, radio-ready sound.
Key Techniques for Mastering Audio Tracks
Refining audio uses techniques that improve the listener’s experience. Whether you work on music or a podcast episode, improve clarity without removing its original character. We use subtle changes to give the final output a professional, unified sound.
Equalization (EQ) Basics
Equalization, or EQ, builds tonal balance. We use broad, gentle curves to shape the full frequency spectrum instead of making sharp cuts. This keeps the audio natural and pleasant to hear.
For complex projects, multiband control becomes important. It targets frequency ranges that may change between recording sections. Keeping those ranges in check creates consistent sound throughout the recording.
Dynamic Range Compression Techniques
Compression helps manage a track’s volume levels. We prefer using gentle bus compression to join the elements into one unified sound. It also prevents sudden volume spikes from distracting listeners.
“Mastering is the art of making a good mix sound like a finished, professional product without altering its soul.”
When processing a podcast episode, we aim to keep its dynamics natural. We avoid heavy settings that make audio sound flat or lifeless. Instead, light compression keeps dialogue clear and comfortable at all times.
Adding Effects: Reverb and Delay
During mastering, we usually avoid obvious ambience. Mixing usually handles reverb and delay to establish the recording’s spatial environment. Adding them during mastering can muddy the final master’s clarity.
Sometimes, a creative choice needs a small amount of space. If we use these effects, we apply them with extreme care. For every podcast episode, we protect vocal intimacy and detail.
- EQ: Use broad strokes for tonal balance.
- Compression: Apply gentle ratios to maintain dynamics.
- Effects: Keep them minimal to avoid cluttering the stereo image.
Common Mistakes to Avoid in Audio Mastering
A great master often depends on what we choose not to change. Technical errors can harm a complex music project or a simple voiceover recording. Spotting these traps early helps keep the final output clean, punchy, and professional.
Over-compression Pitfalls
Many beginners think louder always sounds better. Too much compression crushes the dynamic range and creates a flat, lifeless sound. This can hurt a voiceover recording, because natural inflection keeps listeners engaged.
Do not push the limiter to its limit. Keep the performance’s natural energy instead. Use the best deep bass settings for an amazing audio to keep the low end tight without aggressive compression.
Ignoring Frequency Balance
A balanced frequency spectrum marks a high-quality master. If we ignore problematic resonances or muddy low-mids, tracks may sound cluttered on consumer playback systems. Use precise EQ to make space, so no frequency range masks another.
- Check for harsh high-frequency buildup.
- Remove unnecessary sub-bass rumble.
- Ensure the vocal presence remains clear and forward.
Skipping A/B Comparisons
The biggest mistake is skipping level-matched A/B comparisons. Without them, our ears can fall for the “loudness bias,” treating louder audio as better. Compare the processed signal with the original to confirm that changes improve the sound.
| Mistake | Consequence | Solution |
|---|---|---|
| Over-compression | Loss of dynamics | Use subtle ratio settings |
| Ignoring EQ | Muddy mix | Apply surgical cuts |
| No A/B Test | Subjective bias | Level-match references |
These safeguards help protect our audio’s integrity. Mastering means refinement, not only correction. By avoiding these pitfalls, we can greatly improve every project.
Finalizing Your Audio Track
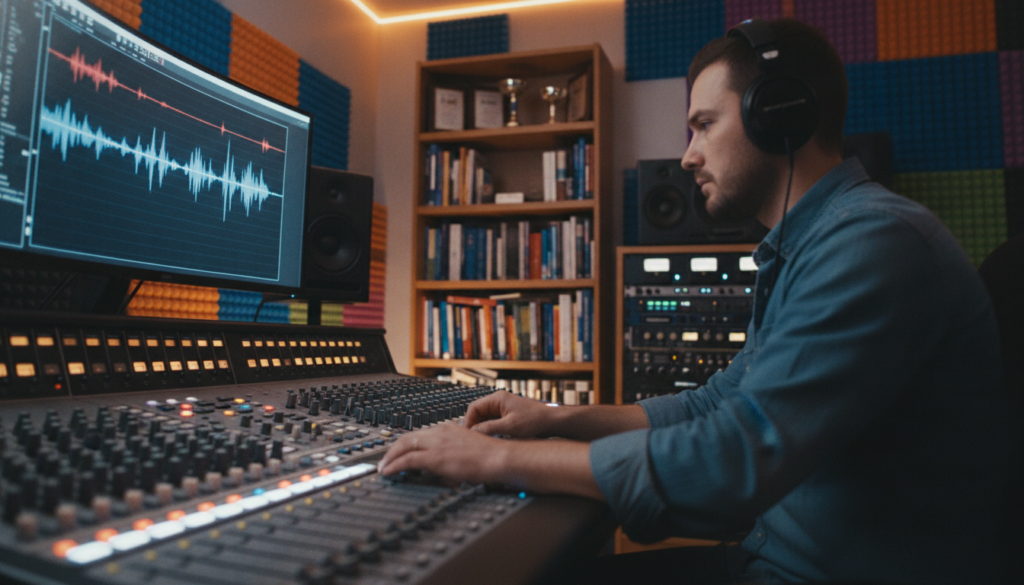
Finalizing your work helps your creative vision sound right in every listening environment. After technical processing, perform a final quality check to ensure the soundtrack meets professional standards. Check that all levels match and that the audio file has no unwanted artifacts.
Exporting Your Mastered Track
When exporting the final project, check technical settings such as dithering. Dithering helps preserve audio quality when you reduce the file’s bit depth. Also organize metadata, including artist name, track title, and ISRC codes, for proper distribution tracking.
Consistent file naming is important for every professional. Use a clear format with the project name, version number, and date. This habit prevents confusion when managing multiple versions of a soundtrack.
Choosing the Right File Format
Choose a format based on where people will hear the audio. We recommend keeping a high-resolution, lossless master file, such as WAV or AIFF, as your primary archive. Even when you need compressed web versions, a pristine master supports future re-encoding without quality loss.
| Format | Quality | Best Use Case |
|---|---|---|
| WAV/AIFF | Lossless | Mastering and Archiving |
| FLAC | Lossless Compressed | High-Quality Distribution |
| MP3 | Lossy Compressed | Streaming and Web Sharing |
Preparing for Distribution
Different platforms require specific technical settings for your soundtrack. For example, streaming services often use target loudness levels that differ from video production or physical media. Create separate exports for each destination to give listeners the best playback experience.
By preparing separate versions for streaming, downloads, and video, we control the final output. This method ensures our soundtrack sounds as intended on every medium. These final steps help our hard work reach the audience with maximum impact.
Testing Your Audio Track Across Platforms
Your final mix may sound perfect in the studio, but will it work in the real world? A track can sound great on high-end monitors yet fail on a smartphone speaker or car stereo. Testing devices is vital to professional audio production and helps every listener enjoy your intended experience.
Importance of Cross-Platform Listening
Studios aim for acoustic accuracy, but they may hide flaws found on consumer-grade systems. Listening on many devices helps you find issues that a treated room can conceal. We recommend testing your master on earbuds, laptop speakers, and home theater systems for consistency across all platforms.
Using Reference Tracks Effectively
Comparing your work with professional songs helps you meet modern audio production standards. Use level-matched reference tracks to compare bass, mids, and treble without relying only on visual meters. When your track matches a commercial release’s volume, you can hear how dynamics and perceived loudness compare in real time.
Common Playback Issues to Monitor
During testing, watch how your mix behaves under stress. Some frequencies or processing choices can create artifacts that harm the listening experience. Use this checklist to evaluate your master:
- Distortion: Check for clipping or harshness on small, low-quality speakers.
- Mono Collapse: Ensure your mix does not lose significant elements when summed to mono.
- Weak Bass: Verify that the low end remains audible on devices without subwoofers.
- Excessive Width: Watch for phase issues caused by overly wide low frequencies.
Systematically checking these areas refines your audio production workflow and builds confidence in the final output. Listening outside the studio prevents common mistakes and ensures your music sounds polished on every platform.
Seeking Feedback on Your Mastered Audio Track
Even experienced engineers need fresh ears to find hidden flaws. After hours of audio editing, your brain may ignore imbalances. Other listeners offer clarity, helping you finish your project with confidence.
Best Practices for Gathering Feedback
Prepare your files carefully to receive useful feedback. Always provide level-matched track versions, so volume differences do not bias listeners. A louder version usually sounds “better” to the human ear, despite its actual quality.
Choose listeners who understand the genre or have a critical ear. Instead of asking “What do you think?”, ask focused questions. Ask about vocal clarity or low-end punch, so their feedback stays useful.
How to Implement Constructive Criticism
Not all feedback has equal value, so learn to filter it. Separate technical concerns from personal taste. If a listener suggests a change, decide whether it serves the song or conflicts with your vision.
When you receive critiques, check whether they match your track goals. Learn more about sound balance by understanding equalizer (EQ) settings for better sound. Apply this knowledge to fix technical issues while protecting your artistic integrity.
Collaborating with Other Audio Professionals
Collaboration supports high-quality production. Mixers, producers, and artists can show you different views of the project. An outside perspective may reveal issues missed during long hours of audio editing.
The following table shows how to sort feedback and keep your workflow efficient:
| Feedback Type | Action Required | Priority Level |
|---|---|---|
| Technical Errors | Immediate Correction | High |
| Frequency Imbalance | Adjust EQ/Compression | Medium |
| Stylistic Preference | Review against Vision | Low |
| General Impression | Note for Future Projects | Low |
By using a structured feedback process, you ensure your final master reflects your best work. The goal is to improve the listener’s experience, not satisfy every opinion.
Continuing Your Audio Mastering Education
Mastering is a lifelong journey that demands practice and curiosity. Staying current helps us refine our sonic signature and deliver professional results.
Digital Learning Platforms
Websites like Coursera and LinkedIn Learning offer structured courses in mastering education. They explore signal processing and gain staging in depth. Tutorials from industry leaders like FabFilter or iZotope can sharpen your skills.
Essential Literature
Reading helps us understand complex concepts. Books such as The Mastering Engineer’s Handbook by Bobby Owsinski offer lasting wisdom about modern mastering techniques. We keep these texts nearby to solve difficult mixes and improve our workflow.
Engaging with Peers
Connecting with others helps us grow as engineers. Online forums like Gearspace and dedicated subreddits are valuable audio mastering resources for gear reviews and mix critiques. Join these groups to exchange ideas and stay inspired by your peers.
Your path to sonic excellence starts with a commitment to learning. Share your progress and keep building your craft every day.