
 Zoe Nora
Did you know over 80% of professional studio recordings don’t reach their full potential? This is often because of the wrong gear choice. The right hardware is key to a top-notch recording space. Each audio source needs a special way to capture its essence.
Getting the best sound starts with picking a high-quality Ribbon microphone that fits your space. Knowing the differences between transducer types is crucial for success in your creative work.
Choosing the right Ribbon microphone is more than just looking at specs. It’s about finding the perfect match for your voice or instruments. We’re here to guide you through these choices. So, you can focus on making great music.
Key Takeaways
- Understand that your gear choice dictates the final quality of your audio production.
- Recognize that every sound source requires a unique technical approach.
- Learn the core differences between various hardware types to make informed investments.
- Prioritize equipment that complements your specific studio acoustics and recording goals.
- Focus on long-term value by selecting tools that grow with your professional needs.
What is a Ribbon Microphone?
The golden age of radio laid the foundation for today’s recording equipment. The ribbon microphone was a key player back then. Now, it’s making a comeback in studios for its unique warmth.
History and Development of Ribbon Microphones
The story of the vintage ribbon microphone started in the early 1900s. Engineers wanted to improve sound quality beyond what carbon microphones offered. This led to the creation of iconic sounds in early broadcasts and jazz.
Even as technology advanced, the ribbon microphone’s design stayed true. Today, many producers use these classics to add depth to their music. Knowing its history helps us appreciate its lasting impact.
How Ribbon Microphones Work
The ribbon microphone technology is based on a simple yet effective design. A thin, conductive ribbon is placed between two magnetic poles. Sound waves cause the ribbon to vibrate, creating an electrical signal.
This method is similar to dynamic microphones but is more sensitive. Ribbon microphones pick up high-frequency details with great precision. Here’s how they compare to other studio microphones.
| Microphone Type | Diaphragm Material | Sensitivity | Best Use Case |
|---|---|---|---|
| Ribbon | Aluminum Foil | High | Strings and Vocals |
| Dynamic | Mylar/Plastic | Low | Live Performance |
| Condenser | Gold-sputtered Mylar | Very High | Studio Detail |
Using a vintage ribbon microphone needs some care but is worth it. As we dive deeper into ribbon microphone technology, we see why they’re crucial for top-notch studios.
Benefits of Using Ribbon Microphones
When we need audio that’s warm and detailed, we often choose a ribbon microphone. These tools give us a sound that feels organic and pleasing. Understanding their unique traits helps us use them better in our recordings.
Natural Sound Reproduction
The heart of the ribbon microphone sound quality is its ultra-thin conductive membrane. This thin element reacts to sound waves like our ears do. It captures transients with realism, something hard to get with other designs.
Many engineers find that this natural reproduction means less need for heavy equalization. Whether it’s a vintage or modern ribbon microphone, the sound is rich and full-bodied. This makes them perfect for sources that might sound thin or brittle.
Smooth Frequency Response
A key ribbon microphone characteristic is its smooth high-frequency response. Unlike many condenser microphones, ribbons don’t emphasize the top end. This gives them a natural, velvety texture that works well in dense mixes.
We use this trait to tame loud sound sources like brass instruments or electric guitar cabinets. The lack of artificial brightness keeps the audio musical and easy on the ears. This is why ribbons are so highly regarded in the industry.
Ability to Handle High Sound Pressure Levels
Despite their delicate appearance, many modern ribbons are surprisingly tough. They handle loud sources with clarity, even when placed close to a loud amplifier. This makes them versatile for a wide range of studio applications.
| Feature | Ribbon Microphone | Condenser Microphone | Dynamic Microphone |
|---|---|---|---|
| Frequency Response | Smooth/Natural | Bright/Extended | Mid-focused |
| Transient Detail | Excellent | Very High | Moderate |
| SPL Handling | High | Moderate | Very High |
| Sound Character | Warm/Vintage | Detailed/Modern | Punchy/Direct |
Key Features to Consider
Understanding the technical details of your gear is key to top-notch audio. When you buy a studio ribbon microphone, look beyond the brand. See how design elements shape your sound.
Polar Patterns and Their Impact
Most ribbon mics have a figure-8 polar pattern. This design picks up sound from the front and back, but not from the sides.
This feature is great for certain recording needs. It’s perfect for recording two people facing each other or a singer with an acoustic instrument.
Frequency Range and Sensitivity
Knowing ribbon microphone characteristics is crucial for a balanced mix. These mics have a natural high-frequency roll-off, avoiding harshness in digital recordings.
Different models have varying sensitivity levels. When checking specs, consider these factors:
- Output Level: Make sure your preamp can handle the lower-output passive models.
- Frequency Response: Choose a flat response for an accurate, uncolored sound.
- Transient Response: High-quality ribbons capture fast, detailed transients without being brittle.
Build Quality and Durability
A top-notch ribbon microphone needs careful handling. The thin ribbon element can be damaged by sudden air bursts or bad storage.
When looking for a studio ribbon microphone, focus on durable builds and protective grilles. A sturdy mic ensures it lasts for years in your studio.
Different Types of Ribbon Microphones
When you look for a studio ribbon microphone, you’ll find two main types. Early models were fragile, but modern ribbon microphone technology has made big strides. Companies like Royer have made these tools durable and reliable for everyday use.
Passive vs. Active Ribbon Microphones
The main difference is how they handle power. A passive ribbon microphone doesn’t have internal electronics. It needs a high-quality preamp to get the best sound without noise.
An active design, on the other hand, has its own phantom-powered circuitry. This modern ribbon microphone setup works well with many preamps. It also gives higher output levels, making it easier to record quiet sounds.
Small Diaphragm vs. Large Diaphragm Models
The size of the ribbon element affects the sound. Small diaphragm models are great for capturing fast, detailed sounds. They’re perfect for acoustic instruments and complex percussion.
Large diaphragm units, though, are known for their rich, warm sound and smooth bass. They’re ideal for recording voices and guitar cabinets. Your choice depends on the sound you want to get.
| Feature | Passive Ribbon | Active Ribbon |
|---|---|---|
| Power Source | None Required | 48V Phantom Power |
| Output Level | Low | High |
| Preamp Needs | High-Gain/Clean | Standard |
| Best Use | Loud Sources | Versatile/Quiet Sources |
Top Brands to Consider
Looking for a high-end ribbon microphone? A few legendary names always stand out. These brands have honed their skills over decades. They ensure each microphone offers top-notch sound quality.
Choosing a well-known brand means you can trust the microphone’s build and performance over time.
Royer Labs
Royer Labs is known for making the modern ribbon microphone popular again. Their designs blend the classic warmth of old units with modern durability. Many see a Royer as the gold standard for reliable, high-quality sound.
AEA
AEA is famous for its fine ribbon microphones. They capture sound with amazing detail and natural depth. This brand stays true to the technology’s history while innovating with TRP microphone preamplifiers.
If you want the best ribbon microphone for acoustic instruments or orchestras, AEA is the top choice for pros.
Shure
Shure is known for its iconic and durable audio gear. Their ribbon microphone is all about versatility and durability. They mix traditional methods with innovative engineering to offer a top-notch microphone for any professional setup.
Best Ribbon Microphones for Various Applications
The ribbon microphone is great for many studio tasks. It’s perfect for recording delicate instruments or powerful vocals. These mics give a unique sound that digital tools can’t match. Check out our ribbon microphone buying guide for more info.
Vocal Recording
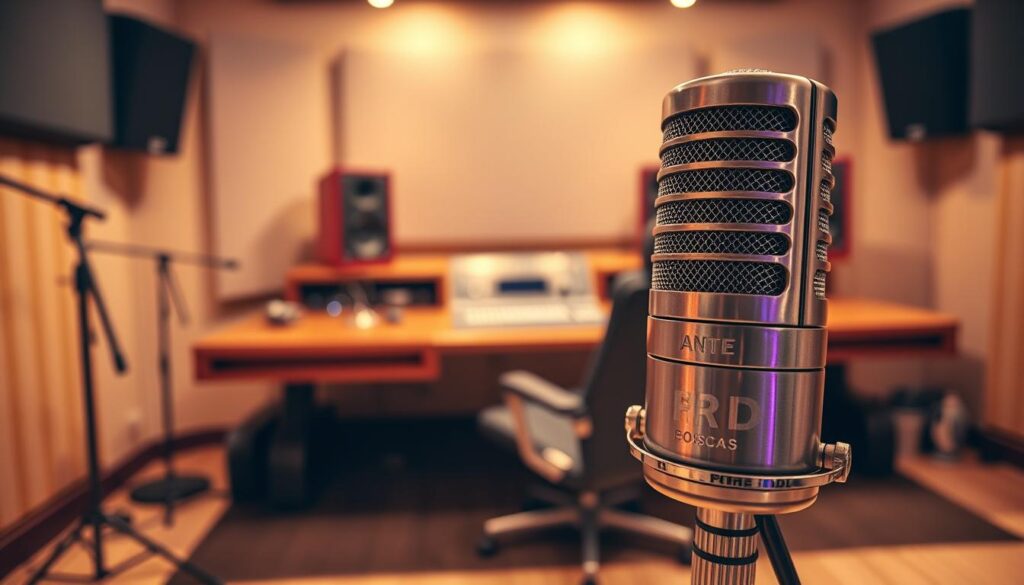
For vocals, you need a mic that captures the voice’s natural feel. A high-end ribbon microphone is often the top pick. It gives a smooth, intimate sound that works well in mixes.
Instruments and Amplified Sound
Ribbon mics handle loud sounds without distorting. They’re great for electric guitars and brass instruments. The best ribbon microphone keeps the sound’s true character.
- Electric Guitars: Captures the grit without the fizzy high-end.
- Brass Sections: Smooths out aggressive transients for a natural feel.
- Acoustic Pianos: Provides a rich, full-bodied tone across the entire range.
Podcasting and Broadcasting
Creators are using ribbon microphones to improve their sound. They give a warm, professional tone like old radio days. A high-end ribbon microphone makes your voice sound authoritative and engaging.
Finding the best ribbon microphone depends on your project. Try different mics to see how they work with your sound. The right one can make every recording special.
Tips for Microphone Placement
Mastering microphone placement is key to a great studio setup. With a ribbon microphone, small changes in position can greatly affect sound quality. Experimenting with these variables is crucial for the best results.
Distance and Angle Recommendations
The distance to your source affects direct sound versus room ambiance. Near-field positioning gives a dry, intimate sound. It reduces room influence for a clear sound.
Far-field models, like the N8 or R88, capture natural room tone. They work best when farther from the source, adding space and depth. Here are some placement tips:
- Near-field: Keep the microphone 1 to 3 feet from the source for detailed sound.
- Far-field: Place it 5 feet or more away to include studio acoustics.
- Angle: Try off-axis angles to soften harsh highs and enhance ribbon microphone sound quality.
Using Shock Mounts and Pop Filters
The internal element of a ribbon microphone is very delicate. It can be damaged by vibrations or floor noise. Always use a high-quality shock mount to block these noises.
Also, protect the element from sudden air bursts. Sounds like “p” and “b” can harm the thin ribbon. A strong pop filter is essential to keep your ribbon microphone sound quality perfect and prevent damage.
Caring for Your Ribbon Microphone
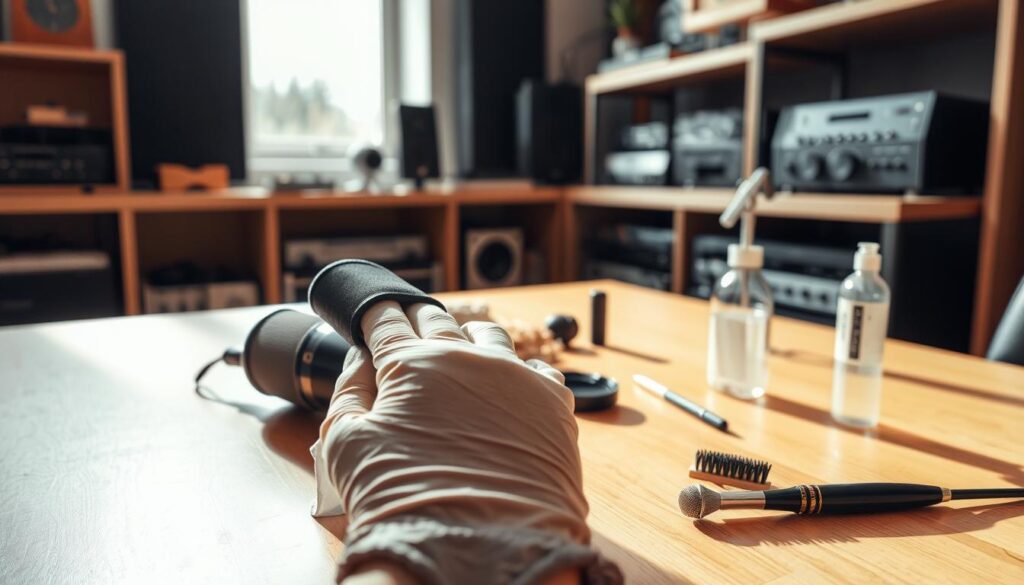
Modern engineering has made ribbon microphones more durable. But they are still delicate. In the past, their thin membranes could easily get damaged. Today, we can keep our gear in top shape with a few simple steps.
Maintenance Tips
Protecting the ribbon microphone‘s internal element is key. Never blow into the mic to test it. This can harm the thin ribbon. Instead, use a high-quality pop filter to soften sounds during vocal recordings.
For more tips on keeping your gear safe, check out these wireless microphone tips for perfect audio. Also, follow these maintenance steps:
- Keep the microphone covered with a protective sleeve when not in use to prevent dust accumulation.
- Avoid exposing the unit to extreme humidity or rapid temperature changes.
- Always engage the phantom power only after the microphone is connected to the preamp.
“The beauty of a ribbon microphone lies in its simplicity, but that same simplicity demands a gentle touch and a respectful hand during daily operation.”
Storage Best Practices
Proper storage is as crucial as regular maintenance for your ribbon microphone. Store your microphones upright whenever possible. This stops the ribbon from sagging, which can change the sound quality.
Always put your ribbon microphone in a padded case to avoid drops. Keep it in a dry, stable place to prevent damage to the magnets and housing. By taking good care of your ribbon microphone, it will be a reliable part of your studio for many years.
Conclusion: Making Your Final Choice
Choosing the right audio gear is all about knowing what you need. Look at your current setup to see if a ribbon microphone could improve it. This will help you find the perfect fit for your sound.
Assessing Your Recording Environment
Think about the instruments you record and the sound you want to get. Ribbon microphones offer a natural, warm sound. They’re great for capturing the real essence of music.
Consider if your current setup lacks the clear high notes that ribbons provide. This could be the key to enhancing your recordings.
The Value of Hands-On Experience
Try out different microphones in your own space before buying. Ribbon microphones work best in certain environments. By testing them, you can find the right spot for the best sound.
Listen carefully to how they change your recordings. Ribbon microphones add depth and realism. They’re a classic choice for a reason.