
 Zoe Nora
Did you know modern hit records often contain over 100 individual audio layers, which were impossible only decades ago? This sound evolution comes from multitrack recording, the backbone of today’s professional studios. Recording each instrument and vocal separately gives us the ultimate control over the final mix.
Multi-tracking lets us refine performances, build rich textures, and apply effects to individual sounds without changing the arrangement. Whether you work in a home studio or high-end facility, these techniques help create a polished, radio-ready sound. We will explore how this workflow turns raw takes into cohesive musical masterpieces through careful editing and creative layering.
Key Takeaways
- Separate tracks allow for independent processing of vocals, drums, and instruments.
- Modern digital audio workstations provide virtually unlimited space for creative layering.
- Punching in and out enables us to fix mistakes without re-recording entire performances.
- Strategic use of track bouncing helps manage CPU resources in complex projects.
- Understanding signal flow is vital for achieving professional clarity in your final mix.
Understanding Multi-tracking: What It Is and Why It Matters
Multi-tracking means recording each sound source separately before combining them into one finished product. This approach to audio production places every instrument or vocal performance on its own channel. Because these parts stay separate, we control the final mix.
The History of Multi-tracking in Music
This technology began in the mid-1950s, when engineers tested magnetic tape. Before then, musicians had to perform together in one take, with no room for error. Legendary guitarist Les Paul built early multi-track machines and worked with Mary Ford on layered vocal and guitar arrangements.
These experiments led to the eight-track recorders that shaped music in the 1960s and 70s. As tape technology improved, layering sounds became easier and changed audio production. Artists could then expand what they created in the studio.
Key Benefits of Multi-tracking for Musicians
The main advantage of this method is the flexibility it offers during creative work. Since each track stands alone, we can edit one performance without changing the song’s other parts. Fixing one wrong note or changing a drum hit’s timing becomes simple.
Multi-tracking also supports endless creative experimentation. We can record multiple takes of a vocal line to create thick harmonies or apply unique effects to individual instruments. This control matters in modern audio production, helping us refine every detail until the final mix sounds perfect.
Essential Equipment for Effective Multi-tracking
To make high-quality multi-track recordings, we need gear that fits our production needs. A reliable signal chain helps us achieve professional results in home studios.
Our tools affect recording clarity, from drums to delicate acoustic guitars. The right recording software and hardware keep our creative process smooth and efficient.
Microphones: Choosing the Right Type
A microphone is the main gateway for sound. We should match the source material with a dynamic, condenser, or ribbon microphone.
Large-diaphragm condensers are often ideal for capturing vocal detail. Dynamic mics handle high sound pressure levels from guitar cabinets with ease. Polar patterns, such as cardioid or omnidirectional, control how much room ambiance we capture.
Audio Interfaces: Features to Consider
Our audio interface connects instruments to our computer. We should choose enough inputs for the sources we plan to record at the same time.
High-quality converters protect signal quality during analog-to-digital conversion. Stable drivers also help ensure low latency, which keeps performances tight and in time.
Software: Best DAWs for Multi-tracking
The Digital Audio Workstation, or DAW, is the heart of our setup. This recording software lets us arrange, edit, and mix our tracks.
Ableton Live, Logic Pro, and Pro Tools offer strong tools for managing complex projects. When choosing, we should consider workflow efficiency and built-in plugins that help shape our sound. The best recording software lets us focus on music instead of technical hurdles.
Setting Up Your Recording Space for Multi-tracking
A well-prepared studio changes how we approach creative sessions. Before recording, we must make sure our space supports high-quality music production. A messy room can lead to poor sound choices that are hard to fix later.
Acoustic Treatment: Importance of Sound Quality
Sound quality depends on how our room handles audio waves. Reflections and standing waves can color recordings, making them muddy or thin. Use bass traps in corners and acoustic panels at reflection points to tighten the sound.
By controlling these issues, we create a neutral space for our instruments. This preparation helps microphones capture each source accurately without room interference. A treated space is essential for professional music production results.
Arrangement: Organizing Your Gear Efficiently
An efficient studio keeps creative work moving. Place the audio interface within arm’s reach so you can adjust gain levels quickly. Manage cables well to prevent signal interference and tripping hazards.
Organized gear lets us focus on performance instead of technical problems. When equipment has a logical place, we spend less time setting up and more time making music. Consider this layout guide for your studio:
| Equipment Category | Placement Strategy | Primary Benefit |
|---|---|---|
| Audio Interface | Desktop/Rack Mount | Easy gain access |
| Microphone Stands | Isolated corners | Reduced vibration |
| Cables | Velcro ties/Trays | Signal integrity |
Overcoming Common Setup Challenges
Even small rooms can present challenges, including limited space and poor isolation. Place microphones carefully to avoid computer fans and outside traffic. Use a clean headphone routing system so performers hear a clear, latency-free mix.
If room modes cause problems, try moving your desk away from the wall. Small changes can greatly improve our overall music production workflow. By watching our physical setup, we build a reliable foundation for every project.
Techniques to Maximize Your Multi-tracking Sessions
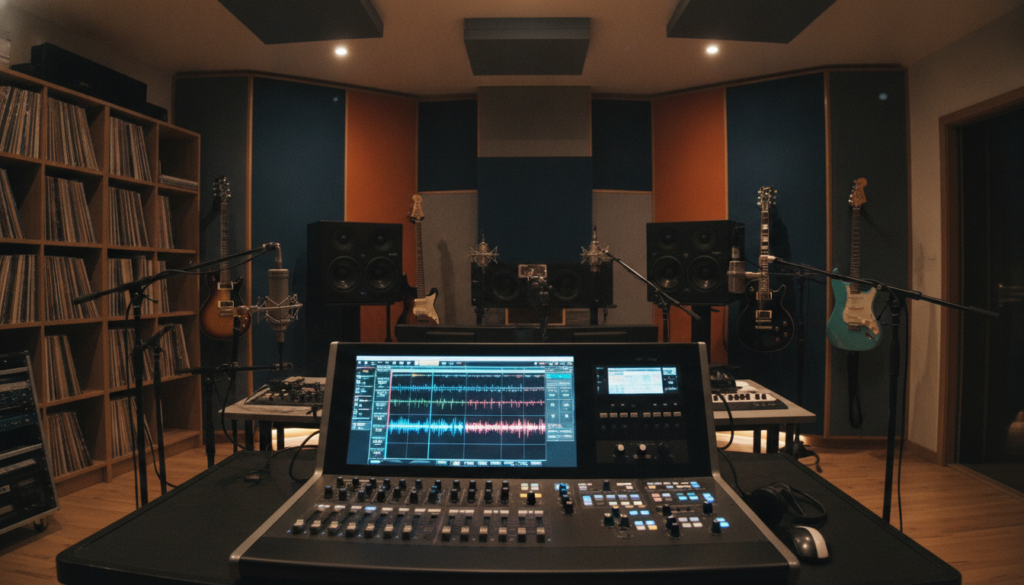
Effective multi-tracking lets you layer sounds while keeping clarity and energy. Recording parts separately lets us tailor processing to each source instead of the whole performance. This detailed control marks professional production and requires high-quality studio equipment to capture every nuance.
Layering Instruments for Richer Sound
We begin with a solid rhythm section as our anchor. After locking the foundation, we add instrumental layers to fill the frequency spectrum. Texture is everything when creating a wide, immersive soundstage.
“The secret to a great mix is not just the performance, but how the layers interact to create a cohesive whole.”
When choosing your studio equipment, make sure your setup handles multiple inputs cleanly. You can learn more about how to choose the right audio interface so your signal chain stays pristine during complex recording sessions.
Vocal Stacking: Techniques for Harmony
Vocal stacking adds depth and emotional weight to a track. We often record a lead vocal, then two or more “doubles” to thicken the sound. Separate harmony tracks let us pan them wide, creating a luxurious, expansive feel that mono recordings cannot achieve.
Name your vocal takes clearly in your DAW to keep them organized. This practice prevents confusion during editing. Remember that subtlety is key; sometimes, one well-placed harmony works better than a wall of sound.
Utilizing Effects and Plugins Effectively
Individual track processing is the greatest advantage of multi-tracking. Instead of a master bus effect, we apply specific EQ, compression, and reverb to each instrument. This helps every element sit in the mix without masking others.
Plugins let us shape each sound’s character. Whether adding warmth to a bass line or shimmer to a lead synth, targeted processing remains essential. Keep your studio equipment updated with the latest software to maintain competitive production quality.
Common Mistakes to Avoid in Multi-tracking
Multi-tracking offers creative freedom, but it also creates pitfalls that can weaken your final mix. Historical producers fought tape hiss and crosstalk, while modern creators face different problems. Today, cluttered sessions can lack professional clarity and sonic definition.
Overlapping Frequencies: Why It’s a Problem
Frequency masking is a common problem in a dense arrangement. It happens when instruments share sonic space, making the mix muddy or crowded. When the kick drum and bass guitar fight over low frequencies, the result is often a weak, undefined sound.
Fix this by assigning each element its own frequency space. Use your digital audio workstation to carve space with subtractive EQ. Cut unnecessary low-end from non-bass instruments, so core elements shine without competing.
Too Many Layers: Recognizing When Enough is Enough
Many producers assume more tracks always create a bigger sound. Yet too many layers can make a production cluttered, noisy, and hard to mix. You may face CPU overload or lose the original performance’s emotional impact.
Practice curation throughout your recording process. If a track adds no value, mute or delete it. A clean, focused arrangement in your digital audio workstation sounds more professional than redundant ideas.
Mixing Your Multi-tracked Tracks
We treat mixing as the final architectural phase of production. Before starting, we organize session files so our mixing techniques stay efficient and creative. A clean workspace helps us make artistic choices that shape the project’s final sound.
Balancing Levels: Getting the Right Mix
Every great mix begins with correct volume levels. We place key elements, such as the lead vocal or main melody, clearly at the front. Volume is our primary tool for setting the arrangement’s hierarchy.
We keep faders below the red to prevent digital clipping. Instead, we use healthy gain structure and leave headroom for later processing. This balance gives each instrument space to breathe.
Panning: Creating Depth in Sound
After setting levels, we use panning to add width and dimension. We place instruments across the stereo field, preventing a cluttered or narrow mix. Strategic panning helps create a real-world performance space.
We usually keep low-frequency instruments, like the kick drum and bass guitar, centered for a solid foundation. We spread guitars, keyboards, and backing vocals left and right. This separation helps listeners distinguish individual parts in a dense arrangement.
EQ Techniques: Clearing Up the Mix
Equalization removes unwanted frequencies that cause masking between instruments. When sounds compete for space, we use subtractive EQ to make room for the more important track. These mixing techniques create clarity and professional polish.
| Process | Primary Goal | Impact on Mix |
|---|---|---|
| Level Balancing | Priority | Establishes focus |
| Panning | Width | Creates spatial depth |
| Equalization | Clarity | Reduces frequency masking |
We listen for muddy low-mid frequencies that can make a mix sound boxy. Gentle cuts let each instrument’s essential character shine through. Applying these thoughtful adjustments turns raw tracks into a cohesive musical experience.
Mastering Your Multi-tracked Project
After balancing levels and applying effects, focus on the final stage of your music recording project. Mixing balances individual instruments, while mastering prepares the final stereo file for distribution. It serves as the final quality-control check for your audio.
The Importance of Mastering in Music Production
Mastering gives your music recording a final polish and keeps it consistent across playback systems. It cannot fix poor music recording choices or bad mixing decisions. Instead, it improves the sound and helps your track meet industry loudness standards.
Think of mastering as the final check before your work reaches the public. It helps your song sound good through high-end studio monitors, car speakers, and mobile devices. Without it, your project may lack the professional punch needed to compete in today’s market.
Steps to Achieve Professional Sound Quality
First, make sure your mix has enough headroom. Leave at least -3dB to -6dB on your master fader for the mastering engineer or plugin chain. Also remove unintended clipping or digital distortion from the music recording phase.
Check loudness, but do not sacrifice dynamic range just to increase volume. Use reference tracks to compare your work with professional releases in your genre. Finally, test your master in different environments to ensure balanced low-end and high-end frequencies everywhere.
| Feature | Mixing | Mastering |
|---|---|---|
| Primary Focus | Individual Tracks | Final Stereo File |
| Goal | Balance and Clarity | Consistency and Impact |
| Tools Used | EQ, Compression, Panning | Limiters, Multiband EQ |
| Output | Multitrack Session | Distribution-Ready File |
Collaboration in Multi-tracking
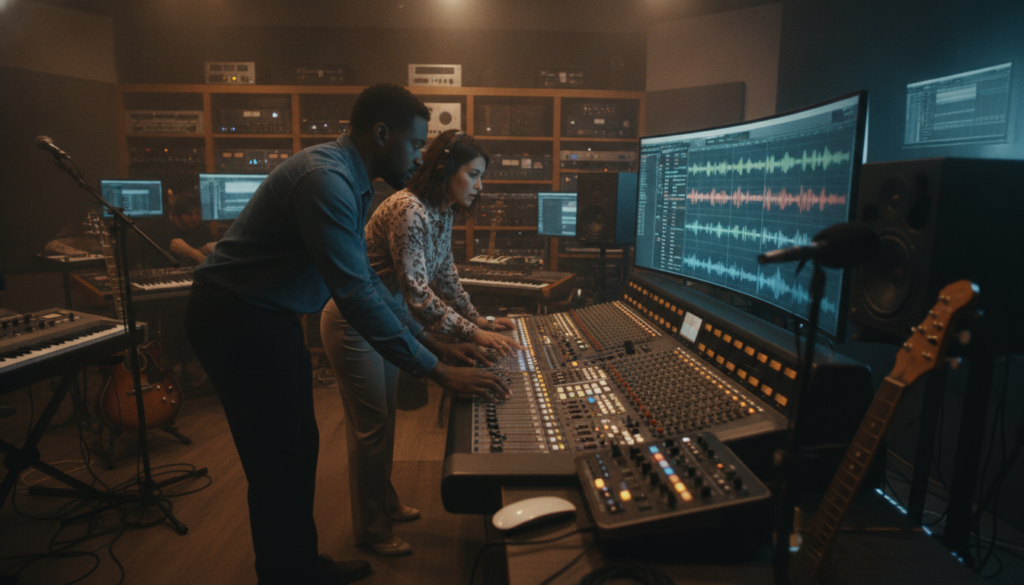
Modern music production often spans cities and time zones. When we work with other artists, technical consistency supports project success. Effective sound engineering requires care with each shared session to prevent data loss or timing errors.
Remote Collaborations: Tips for Success
To help partners open a session, always provide consolidated audio files. Export every track from the same starting point, usually at zero. Check that sample rates and bit depths match the original project settings, preventing playback speed discrepancies.
Clear naming conventions help us manage complex arrangements. Use descriptive labels like “Lead_Vox_Verse1” instead of generic file names. A strict version control system tracks changes and prevents accidental overwriting of important mix decisions.
Tools and Platforms for Effective Communication
Communication matters as much as audio when we are not together. Secure file transfer services move large multitrack folders safely across the internet. These platforms protect our work and provide a reliable audit trail for every upload.
Professionals once used SMPTE timecode to keep analog machines perfectly synced. Today, digital metadata and shared tempo maps provide the same level of rhythmic precision. Dedicated feedback tools let us add specific timeline notes, streamlining the sound engineering process and aligning our creative vision.
| Task | Best Practice | Benefit |
|---|---|---|
| File Export | Consolidate from zero | Perfect alignment |
| Organization | Clear naming labels | Faster workflow |
| Communication | Shared feedback notes | Reduced revisions |
Final Thoughts and Resources for Aspiring Producers
Building music production skills takes technical precision and artistic intuition. Multi-tracking links these skills by refining each performance while preserving a composition’s soul. Read expert advice for musicians and producers for help with remote collaboration and digital synchronization.
Educational Resources for Growth
Explore platforms like Coursera or LinkedIn Learning for structured digital audio workstation courses. Books such as The Mixing Engineer’s Handbook by Bobby Owsinski explain sound layering in depth. These resources build a strong foundation for anyone seeking better studio output.
Engaging with Producer Communities
Connecting with peers helps sharpen your craft. Online forums like Gearspace and the Reddit community r/audioengineering support troubleshooting and project-based experiments. These groups help us follow modern trends and receive constructive feedback on our work.
Regular practice and active participation can transform your approach to complex arrangements.