
 Zoe Nora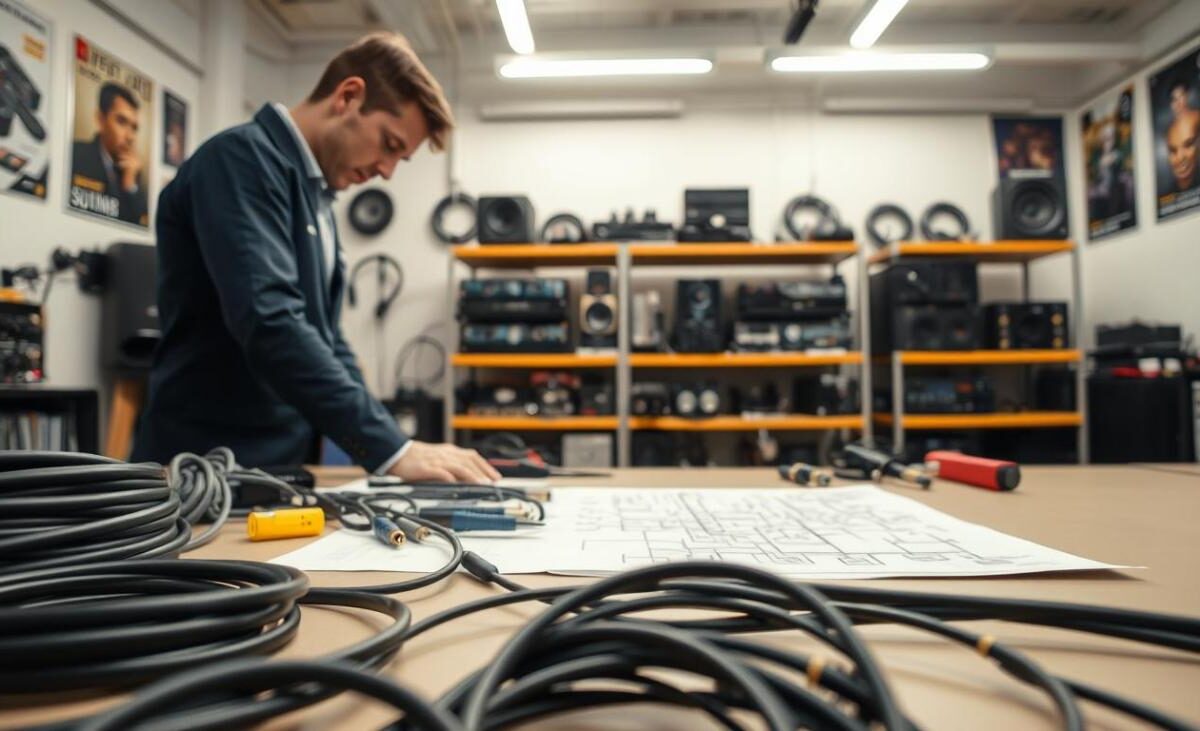
Did you know that nearly 80% of home entertainment problems come from bad connections, not broken parts? We often ignore the cables behind our walls and entertainment centers. But, high-quality audio wiring is key for your media setup.
Connecting speakers, gaming consoles, or smart TVs needs the right path for a clear signal. Choosing the right parts helps avoid clutter and future repair troubles. Thoughtful planning is the key to a reliable home system.
Learning to manage these connections well can change your home theater experience. It’s time to get good at audio wiring to make your system work its best.
Key Takeaways
- Faulty connections are the leading cause of poor home entertainment performance.
- Cables act as the essential nervous system for all your media devices.
- Proper installation reduces cable clutter and prevents long-term maintenance issues.
- Strategic planning improves overall sound quality and system reliability.
- Selecting the right materials is crucial for a seamless home theater experience.
Understanding Audio Wiring: A Homeowner’s Guide
Learning about audio wiring is key to getting top-notch sound at home. Many devices seem alike, but their cables have different roles. These roles greatly affect how you hear sound.
What is Audio Wiring?
Audio wiring is the cables that carry sound signals between devices. It’s crucial to know these cables are not the same as power cords or internet cables. They handle sound signals, not high-voltage electricity.
In most American homes, you’ll find various cables for different tasks:
- HDMI: Sends both high-definition video and audio signals.
- Speaker Wire: Sends power from your receiver to speakers.
- Optical Cables: Carry digital audio signals using light pulses.
- Coaxial Cables: Used for digital audio or antenna connections.
- Ethernet: Mainly for network data, but also for streaming audio.
Why is Audio Wiring Important?
The quality of your wiring installation affects how much sound you hear. Bad connections or wrong cables can cause signal loss, buzzing, or audio dropouts. These issues can spoil your entertainment.
“A sound system is only as strong as its weakest link, and in many cases, that link is the cable connecting your components.”
Spending time on a clean and organized wiring installation ensures your system works well for a long time. By picking the right cables and securing them well, you protect your gear. This way, your home theater will keep delivering clear sound for many years.
Types of Audio Wiring for Home Theaters
Choosing the right wiring for your home theater is key to clear sound. It’s important to know the differences in system layouts. This knowledge helps you achieve crystal-clear sound, whether you have a simple setup or a full surround sound system.
Speaker Wiring Options
Home theaters usually use copper speaker wire. We suggest oxygen-free copper cables for better signal quality over long distances. Make sure to match the positive and negative terminals correctly.
Home and car audio wiring share some similarities. Proper cable routing and managing impedance are crucial to avoid interference. Poor connections can lead to noise or a decrease in sound quality.
Subwoofer Connections
Subwoofers need a special setup because they handle the LFE signal. Use a shielded RCA cable to connect the subwoofer output to the powered subwoofer. This shielding is crucial to avoid hums and buzzes.
Good connections keep your bass tight and clear. Keep subwoofer cables away from power lines to reduce interference. Here’s a quick guide to help you plan your wiring.
| System Type | Speaker Count | Subwoofer Included | Primary Use |
|---|---|---|---|
| 2.0 Stereo | 2 | No | Music Listening |
| 2.1 System | 2 | Yes | Small Room Media |
| 5.1 Surround | 5 | Yes | Home Cinema |
Connectors and Adapters: Choosing the Right Ones
Your audio system’s strength depends on its connectors. Quality home audio wiring means every connection point must keep the signal clean. The wrong plug or a loose adapter can bring in noise or even stop the signal.
Common Types of Audio Connectors
Today’s systems use many connection types for data and sound. Knowing these helps you set up your home audio installation with confidence. Here are the most common ones:
- HDMI: The standard for high-definition video and multi-channel audio transmission.
- Optical (Toslink): Uses light pulses to carry digital audio, effectively preventing electrical interference.
- RCA: The classic red and white plugs used for analog stereo signals.
- Speaker Terminals: Binding posts or spring clips that secure bare wire or banana plugs for passive speakers.
How to Select Suitable Adapters
Adapters connect when your equipment ports don’t match your cable ends. But, always choose direct connections when you can to avoid signal loss. If you need an adapter, make sure it fits the bandwidth and signal direction your device needs.
Check the connector type and cable length before buying. A good adapter fits well without straining the port. By picking the right parts, your home audio wiring stays reliable and sounds great.
Planning Your Audio Wiring Layout
Starting a home theater project means more than just wiring. It’s about planning where everything will go. This way, you avoid problems later. By thinking ahead, you can make sure your speakers work well and your space looks neat.
Think about adding more speakers or a projector later. Adding wiring after your walls are up can be expensive and disruptive. It’s better to run extra wiring now to make future changes easier.
Room Design Considerations
Begin by drawing your room layout. Use paper or digital tools to find the best spots for your equipment. Measure the distances to figure out how much wire you need. Remember to add extra for corners and adjustments.
Plan where your cables will go. Whether it’s through the attic, basement, or behind baseboards, make sure paths are clear. A good audio cable management plan keeps your home looking great and prevents signal problems.
Essential Tools for Installation
Having the right tools makes installation easier and faster. Gather these items before starting to ensure you have everything you need. Quality tools protect your walls and keep connections secure for years.
| Tool Name | Primary Use | Benefit |
|---|---|---|
| Wire Strippers | Removing insulation | Prevents wire damage |
| Fish Tape | Pulling wires | Navigates tight spaces |
| Cable Labels | Identification | Simplifies troubleshooting |
| Stud Finder | Locating supports | Ensures safe mounting |
Labeling your cables at both ends is crucial. It saves time if you need to move or upgrade your system. Organization is key to a professional installation, keeping your audio experience great.
How to Run Audio Wires in Your Home
Running audio wires in your home can be tough. It’s not just about connecting speakers. You need a plan for managing cables behind walls and ceilings.
Best Practices for Wiring in Walls
For hidden cables, use CL2 or CL3 rated cables. They meet fire safety codes for in-wall use. Don’t use regular lamp cords or speaker wire, as they can be dangerous.
Keeping your project organized is key. Here are some steps to follow:
- Label both ends of every cable to avoid confusion during the final connection phase.
- Maintain gentle curves when routing wires, as sharp bends can damage the internal copper conductors.
- Always test your connections with a multimeter or by playing audio before you seal up any access points or drywall.
“Proper planning prevents poor performance. Always ensure your cable runs are as short as possible to maintain signal strength and clarity.”
Tips for Avoiding Signal Interference
Electrical noise can ruin your sound quality. Keep your audio cables away from high-voltage lines. If they must cross, do it at a 90-degree angle to reduce interference.
If your home has complex walls or you’re not comfortable near electrical circuits, get professional help. Audio wiring services have the tools and know-how to avoid damage. They ensure your system is safe, meets codes, and sounds great.
Wireless Audio Options
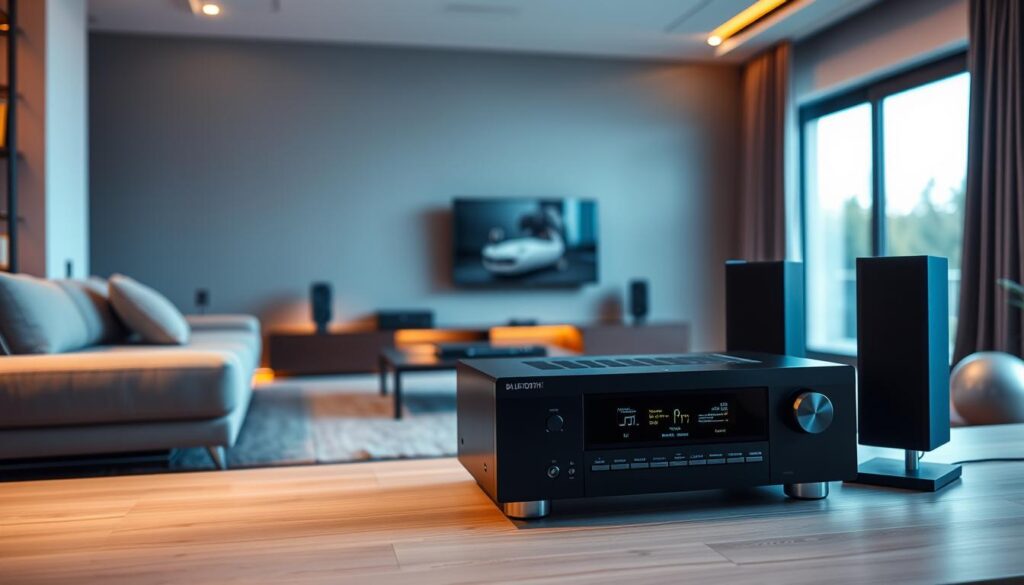
Choosing the right audio setup is important. You need to look at both wired and wireless options. Cables are reliable, but modern tech offers convenience and style. The best choice depends on your home and future plans.
Pros and Cons of Wireless Audio Systems
Wireless systems are great for moving speakers around. They let you change your room layout without hiding cables. This is perfect for renters or those who like to redecorate.
But, there are downsides. Wired connections offer superior stability and less interference. If you want the best sound for a home theater, wired is still the top choice.
How to Integrate Wireless Solutions
Adding wireless to your home needs a solid plan. Check your Wi-Fi before buying new gear. A busy network can cause audio problems, ruining your movie or music.
Think about a mix of wired and wireless. Use wires for main speakers and wireless for others. Choose gear that can grow with you, so your system stays up-to-date.
Speaker Placement and Setup
Getting your speakers in the right spot is key to making your room sound like a pro studio. It’s not just about the quality of your equipment. Where you place each speaker affects how sound moves through your space. Using professional audio wiring keeps your signal clean as it reaches these spots.
Ideal Positions for Home Speakers
For a great soundstage, put your left and right speakers at ear level. They should form an equilateral triangle with where you sit. Surround speakers go behind and to the sides to make the sound feel like it’s all around you. Ceiling speakers for Dolby Atmos should point toward you to keep the sound clear.
Outdoor and multiroom setups need a special plan because of open spaces and different room sizes. Don’t put speakers in corners, as this can make the bass sound muddy. Instead, place them away from walls to let the sound spread naturally.
How to Optimize Sound Quality
Improving your system is more than just moving speakers around. Think about the materials in your room, like hard floors and glass windows. They can cause harsh reflections. Using rugs, curtains, or acoustic panels can help soften these echoes and make your sound clearer.
Good professional audio wiring is crucial to avoid losing or distorting your signal. After setting up your speakers and wiring, use a calibration microphone to fine-tune your system. This ensures all speakers work together for a clear, balanced sound.
| Speaker Type | Placement Goal | Recommended Height |
|---|---|---|
| Front L/R | Stereo Imaging | Ear Level |
| Center Channel | Dialogue Clarity | Directly Below/Above TV |
| Surround | Ambient Effects | 2 Feet Above Ear Level |
| Subwoofer | Bass Response | Floor (Corner or Front) |
Troubleshooting Common Wiring Issues
When your audio cuts out or sounds distorted, it’s often a simple wiring issue. Losing sound during a movie or song can be frustrating. By following a systematic approach, you can often fix your system without outside help.
Identifying Poor Connections
First, check your physical connections. Make sure every cable is firmly seated in its port. Loose plugs can cause static or channel imbalance. Also, look for visible damage like fraying or sharp bends.
Speaker polarity is key to verify. If positive and negative wires are swapped, your sound will lack depth and bass. Always double-check that the red terminal on your receiver connects to the red terminal on your speaker. For more complex electrical concerns, refer to this guide for maintenance teams to ensure your home infrastructure is safe.
Fixing Audio Dropouts
If you experience intermittent sound or complete silence, start by verifying your source selection. It’s common to accidentally switch inputs on a receiver, leading to a loss of signal. Next, review your receiver settings to ensure the output configuration matches your speaker layout.
For wireless systems, dropouts often stem from network interference or distance issues. Try moving your router or reducing the number of devices competing for bandwidth. If these basic steps fail to resolve the issue, it may be time to consult a professional audio wiring company to inspect hidden faults behind your walls.
| Symptom | Likely Cause | Recommended Action |
|---|---|---|
| Static Noise | Loose Connection | Reseat all cables |
| No Sound | Wrong Input | Check receiver source |
| Weak Bass | Polarity Mismatch | Verify +/- wiring |
| Intermittent Audio | Network/Cable Fault | Call audio wiring company |
Upgrading Your Audio System: When to Consider It
Keeping your home audio system up-to-date is key. It’s not just about the latest speakers or receivers. The hidden pathways carrying your signal are just as important. Knowing when to upgrade can prevent frustration and ensure your media sounds its best.
Signs You Need New Wiring
One common sign is recurring audio dropouts. If you get sound loss or crackling, your cables might be damaged. These issues can ruin your listening experience.
Look for visible clutter and damaged insulation too. Wires that have been pinched or chewed by pets can lose their strength. If your setup looks disorganized or uses old, thin wire, it’s time for a professional upgrade.
How Upgrades Can Improve Sound Quality
Investing in high-quality speaker cables boosts your equipment’s performance. Thicker, well-shielded wires reduce resistance and interference. This ensures your signal reaches your speakers clearly, improving bass and high frequencies.
Plan for future-ready audio upgrades when renovating your space. Installing extra conduits or running additional lines for future speakers and projectors is wise. This saves time and keeps your home theater ready for new audio technology.
| Feature | Outdated Wiring | Modern Upgraded Wiring |
|---|---|---|
| Signal Clarity | Prone to interference | High-fidelity transmission |
| Durability | Brittle and prone to breaks | Robust, long-lasting materials |
| System Expansion | Limited or impossible | Ready for multi-room audio |
| Installation | Messy and disorganized | Clean, hidden, and efficient |
DIY vs. Hiring a Professional
Many homeowners face a tough choice when setting up their sound system. Should they do the wiring themselves or hire a pro? This choice affects how well your audio system works in the long run. Knowing your own tech skills is key to a successful home theater installation.
Factors to Consider for DIY Wiring
If you like working on projects, DIY audio wiring can be fun and save money. But, you need to think about a few things before starting.
- Access and Construction: Check if your walls are easy to get to and what they’re made of, like drywall or brick.
- Tool Requirements: Make sure you have the right tools, like fish tapes, wire strippers, and cable testers.
- Electrical Proximity: Keep audio cables away from high-voltage lines to avoid hum or interference.
- Cable Identification: Labeling cables well is key to avoid mixing them up when connecting speakers to your receiver.
When to Call in an Expert
Some projects are too complex for a DIYer. For high-end systems needing precision and looks, getting a pro is best.
| Project Type | DIY Suitability | Expert Recommendation |
|---|---|---|
| Simple 2.1 Setup | High | Optional |
| Concealed In-Wall | Moderate | Recommended |
| Multiroom Audio | Low | Highly Advised |
| System Calibration | Low | Essential |
Think about getting a pro for projects like running wires through ceilings or complex multiroom setups. Experts have the right tools for system calibration, making sure your sound is perfect for your room. If you’re spending a lot on equipment, a pro ensures it’s set up right and sounds great.
Maintenance Tips for Optimal Audio Performance
Looking after your audio gear is key to keeping it in top shape. Regular care ensures your music sounds great for years. It’s all about keeping every detail sharp and clear.
Regular Checks and Upkeep
Check your cables often for any damage. Dust can harm your equipment, so clean it with compressed air. Labeling your wires makes troubleshooting easier.
Keep an eye on your wireless network. Weak signals can ruin your music experience.
Enhancing Your System Over Time
Start with a basic setup and grow it as needed. Brands like Sonos or Denon make it easy to expand. They fit well with your current wiring.
Regular maintenance keeps your system running smoothly. It’s ready for you to add more rooms. For advice on upgrading or improving your sound, contact us.