
 Zoe Nora
Did you know that over 80% of modern hit songs come from home studios, not massive commercial facilities? This change shows that creators everywhere can access high-quality recording.
At the center of this change sits the audio interface. This essential piece of audio equipment acts as a bridge between microphones, instruments, and computers. Without it, your digital workstation cannot process signals for professional sound.
Choosing the right music production gear takes careful thought. Our guide explains connectivity, input counts, and software compatibility. Whether you are building your first rig or upgrading a professional studio, it supports smart, long-term creative goals.
Key Takeaways
- The device serves as the primary link between analog signals and digital recording software.
- Proper selection depends on your specific input needs and instrument types.
- Sound quality and pre-amp performance remain the most critical factors for success.
- Compatibility with your computer system prevents future technical headaches.
- Investing in reliable hardware saves money and time over the long run.
What is an Audio Interface?
Every modern home studio depends on hardware called an audio interface. Many computers include a basic sound card, but internal parts rarely support high-fidelity recording or professional music production.
An audio interface connects your analog gear and computer. It changes electrical signals from microphones or instruments into digital data that your digital audio workstation can process and store.
Understanding the Basics
The signal path starts when you plug a microphone or instrument into the interface. High-quality preamps boost the quiet signal to a usable level. An analog-to-digital converter then changes it into digital data.
“The quality of your recording is only as good as the first link in your signal chain, which is almost always your audio interface.”
Unlike a standard sound card, an interface has dedicated inputs and outputs for low noise and clear sound. It captures performance details accurately, without unwanted interference or distortion.
| Feature | Internal Sound Card | Audio Interface |
|---|---|---|
| Primary Use | General Media Playback | Professional Recording |
| Input Quality | Low/Consumer Grade | High-Fidelity Preamps |
| Latency | High/Unstable | Ultra-Low/Stable |
| Connectivity | Fixed/Internal | Flexible (USB/Thunderbolt) |
Importance in Music Production
Reliability matters when you work in a digital audio workstation. A dedicated interface offers direct monitoring, so you hear your performance in real time without distracting delay.
This hardware also offers connections for expanding your studio over time. Investing in a quality unit keeps your workflow efficient and your final tracks professional and polished.
Key Features to Look For
Choosing the perfect audio interface for music production starts with knowing your connectivity needs. Before buying, count the devices you will connect at the same time. Whether you are a solo artist or in a band, choose hardware that supports your workflow without needless complexity.
Input and Output Options
A versatile recording interface should support microphones, instruments, and studio monitors through several connection types. Count microphone inputs, line inputs, and dedicated instrument connections to leave enough room for your gear. Also check headphone outputs; they are essential for monitoring your performance in real time.
If you are unsure, learning how to choose the right audio interface can help prevent future upgrades. Most modern units offer XLR and TRS jacks for flexible routing. Prioritize physical inputs over flashy features you will not use.
Sample Rate and Bit Depth
Many beginners chase high numbers, but practical recording settings are often more modest. 44.1 kHz or 48 kHz is standard for most professional projects and gives clear sound without taxing your computer. Likewise, 24-bit depth is the industry standard for capturing a wide, high-quality dynamic range.
These standard settings keep your files compatible with most software. You do not need 192 kHz unless you have a specific reason, because it uses significant storage space. Quality sound capture depends more on microphone technique and room acoustics than extreme sample rates.
Latency and Performance
Latency is the delay between playing an instrument and hearing it through your speakers. Your buffer size strongly affects it by linking your hardware with your computer’s processing power. A smaller buffer cuts lag but requires a more powerful CPU to manage the workload.
Many interfaces now include built-in DSP, which processes audio before it reaches your computer. This feature helps maintain low latency during complex recording sessions. If performance suffers, adjust your buffer settings in your DAW first for a smoother experience.
| Feature | Entry-Level | Mid-Range | Professional |
|---|---|---|---|
| Inputs | 1-2 | 4-8 | 16+ |
| Connectivity | USB 2.0 | USB-C / Thunderbolt | Thunderbolt / Dante |
| DSP Power | None | Basic | Advanced |
| Best For | Podcasting | Home Studio | Commercial Studio |
Popular Brands and Models
When you search for the perfect recording interface, a few major brands quickly stand out. A reliable device helps capture quality audio for vocals, guitars, or podcasts.
Before choosing, consider your input needs, software ecosystem, and operating-system support. Each manufacturer offers strengths for different types of creators.
Focusrite Scarlett Series
The Scarlett line is a gold standard for home studio users. These units are highly accessible and friendly for beginners.
Key advantages of this recording interface series include:
- Excellent preamp clarity for the price point.
- Robust build quality suitable for desktop use.
- Bundled software packages that help you start recording immediately.
Universal Audio Apollo
If you need professional processing, the Apollo family stands out with its integrated DSP technology. These systems run UAD plugins in real time, reducing your computer’s CPU load.
This makes them a top choice for engineers who want low latency and high-end analog emulation. They require a larger investment, but their sound often stands unmatched in professional environments.
PreSonus AudioBox
For those on a tighter budget, the AudioBox series offers a reliable and affordable home recording solution. These devices are simple, durable, and effective for basic tracking.
They offer musicians a simple way to capture ideas without complex menus. By focusing on essential features, this recording interface remains popular in entry-level setups.
Your choice should match your long-term recording needs. Whether you prefer advanced processing power or simple plug-and-play functionality, these trusted brands serve thousands of users worldwide.
USB vs. Thunderbolt Connections
The way your interface connects to your computer affects your workflow and performance. Whether you are a beginner or a seasoned professional, understanding these protocols helps your hardware work with your setup.
Pros and Cons of USB Interfaces
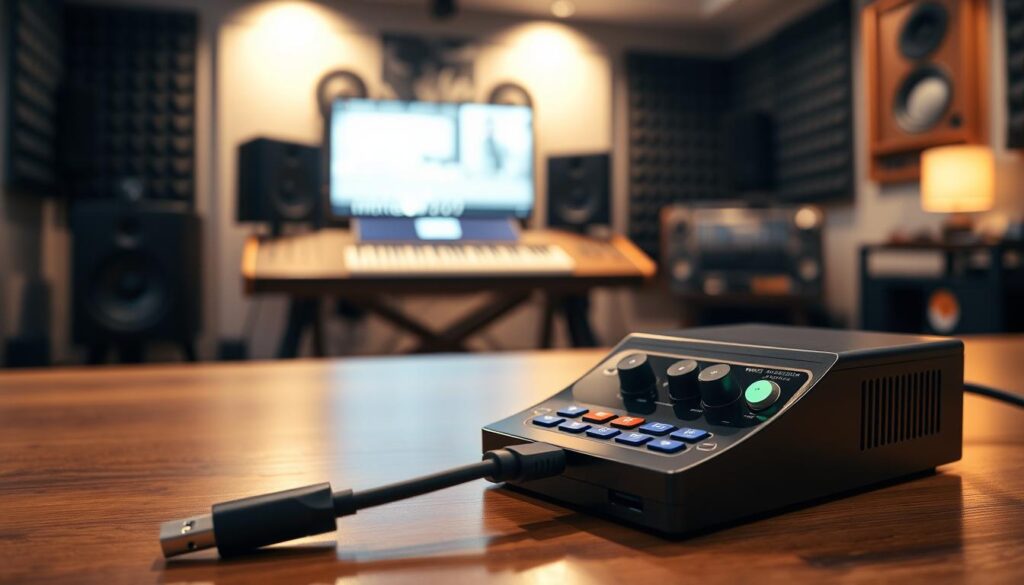
A USB audio interface remains the most popular choice for home studios because it works with many systems. You can connect these devices to almost any modern computer without special hardware or adapters.
These units are generally more affordable, so they offer an excellent start for people on a budget. However, they may struggle with extremely high channel counts or ultra-low latency requirements compared with advanced protocols.
Benefits of Thunderbolt Interfaces
Thunderbolt technology offers blazing-fast data transfer speeds that far exceed standard USB capabilities. This protocol suits demanding systems that need massive track counts or interface-based digital signal processing (DSP).
By minimizing round-trip latency, Thunderbolt lets you monitor recordings with near-zero delay. These units often cost more, but the reliability and performance they provide are essential for professional-grade production environments.
| Feature | USB Interface | Thunderbolt Interface |
|---|---|---|
| Compatibility | Universal | Limited to specific ports |
| Latency | Moderate | Extremely Low |
| Price | Budget-Friendly | Premium |
Before your final purchase, verify your computer’s available ports and connector generations. Choosing the right USB audio interface or Thunderbolt model depends on your recording needs and your computer’s hardware limitations.
The Role of Preamps in Audio Interfaces
Before your signal reaches the digital world, it must pass through your audio interface preamp stage. This component first connects your microphones and instruments.
A microphone’s signal would be too quiet for your computer to process without proper amplification. Preamps boost weak signals to a usable line level.
What are Preamps?
A preamp, or pre-amplifier, is an electronic circuit that increases the voltage of a weak signal. In an audio interface, these circuits sit inside the hardware for smooth connections.
Most modern units offer clean, transparent gain that captures the source as it sounds. However, some professionals prefer standalone boutique units that add distinctive color or character to recordings.
How Preamps Affect Sound Quality
Your preamp’s quality directly affects your tracks’ clarity and noise floor. A high-quality circuit offers a wide gain range, essential for dynamic microphones requiring significant power.
When selecting gear, consider how the preamp handles sources such as vocals and acoustic guitars. The following table shows how preamp features can affect your workflow:
| Feature | Transparent Preamp | Character Preamp |
|---|---|---|
| Primary Goal | Accuracy | Coloration |
| Best Use Case | Classical/Orchestral | Rock/Vocals |
| Noise Floor | Extremely Low | Variable |
| Sonic Impact | Neutral | Warm/Saturated |
Ultimately, the right audio interface will provide enough clean gain to handle your specific recording needs without adding unwanted hiss. Check the specifications for gain range and equivalent input noise to ensure your setup meets professional standards.
Choosing the Right Audio Interface for Your Needs
Finding the perfect audio interface means balancing your creative goals with your available workspace. The best choice depends on where you record and which projects you handle most often.
Home Studio vs. Mobile Recording
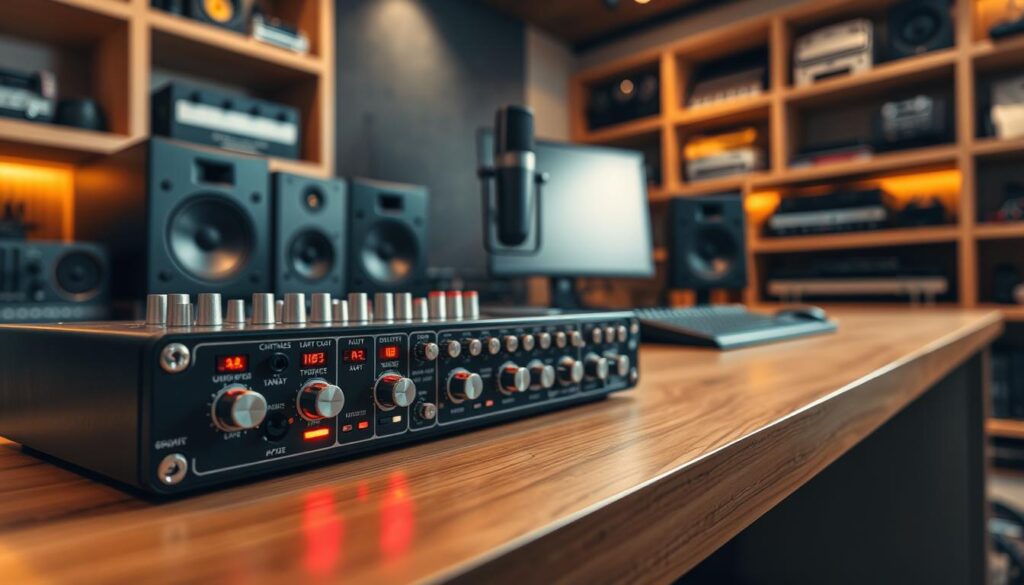
If you work mainly in one place, choose a unit with more inputs and outputs. A permanent home studio setup lets you keep microphones and instruments plugged in, saving valuable creative energy.
If you travel, portability matters most. Choose a compact, bus-powered device that fits in a backpack without losing build quality. Consider these key differences when deciding:
- Desktop Units: Best for stationary setups with multiple microphones.
- Portable Interfaces: Ideal for field recording or laptop-based production on the go.
- Rack-mount Options: Necessary for professional studios requiring extensive connectivity.
Types of Users: Musicians, Podcasters, and Gamers
Your role determines which features matter most. For example, the best audio interface for vocals needs high-quality preamps that provide clean gain without unwanted signal noise.
Musicians focused on audio interface for music production often seek low-latency monitoring and MIDI connectivity for virtual instruments. Podcasters, however, usually prioritize simple USB integration and multiple headphone outputs for guest monitoring.
Gamers often need high-fidelity audio output and a simple, plug-and-play connection. Whatever your category, make sure your hardware offers:
- Clean Preamps: Essential for capturing professional-grade vocal takes.
- Quiet Monitoring: Allows you to hear yourself clearly without background hiss.
- Simple Integration: Compatibility with your computer’s operating system is vital for a smooth workflow.
Budget Considerations
When building your studio, choosing the right audio equipment means balancing current needs with long-term goals. A unit’s price reflects more than its brand name. High-quality analog-to-digital conversion, input numbers, built-in DSP, and manufacturer support affect the final cost.
Choose music production gear that fits your current workflow. Do not pay for extra channels or processing power you will not use. Focus on your recording needs, and spend money on features that matter for your sound.
Best Affordable Options
For beginners and people on strict budgets, many entry-level devices offer great value. A standard USB audio interface typically provides one or two high-quality preamps and solid build quality. These units suit solo artists and podcasters who need simple, reliable recording without breaking the bank.
Mid-Range Picks for Serious Hobbyists
As you progress, you may need more flexibility and better internal components. Mid-range music production gear often has improved preamps, lower noise floors, and faster connection speeds. These interfaces suit serious hobbyists who record multiple instruments simultaneously or need better integration with their favorite software plugins.
High-End Interfaces for Professionals
Professional hardware serves people who demand the highest sonic accuracy and expandability. These units often include high-speed connectivity, extensive I/O options, and powerful onboard processing. Investing in a high-end USB audio interface helps your studio handle complex sessions and grow with your professional career.
| Category | Best For | Key Benefit |
|---|---|---|
| Affordable | Beginners | Ease of use |
| Mid-Range | Hobbyists | Better components |
| High-End | Professionals | Maximum expandability |
Setup and Compatibility
We guide you through key steps for connecting your interface and setting up your software. A stable connection supports every high-quality recording session. Correct setup helps prevent technical problems during creative work.
Connecting Your Audio Interface to Your Computer
Before connecting your device, check the manufacturer’s website for the latest drivers. Modern hardware often needs specific software to work with your operating system. An internal sound card was once standard, but external interfaces offer better stability and easier use.
Connect your interface with USB-C or Thunderbolt for optimal data transfer speeds. Your computer should then recognize it as an external audio device. If it does not, secure the cable and install the manufacturer’s control software.
Software Compatibility: DAWs and Plugins
After your hardware is recognized, configure your digital audio workstation to use the interface. Open your software’s audio settings, then choose the interface for input and output. This makes your computer bypass its basic internal sound card and use your professional hardware.
Most modern software lets you adjust buffer sizes to manage latency. Use a lower buffer size for tracking and a higher setting for complex mixing projects in your digital audio workstation. Keep your plugins updated for compatibility with your operating system and recording software.
Finally, record a short clip to check that your levels sound clean and lack distortion. Proper monitoring through headphones or studio speakers confirms that your signal path works correctly. These steps give future audio projects a professional foundation.
Troubleshooting Common Issues
Technical glitches can interrupt creative work in a digital studio. Stay calm and follow a logical process when unexpected behavior appears. Most problems with a recording interface come from simple configuration errors, not hardware failure.
Lag and Latency Problems
Latency is the delay between playing a note and hearing it through your speakers. It often happens when your computer struggles to process audio data in real time. You can often fix it by adjusting the buffer size in your software settings.
A lower buffer size reduces delay but puts more strain on your CPU. Clicks or pops mean your computer may struggle to meet the demand. Freeze tracks or remove heavy plugins to stabilize your recording interface during tracking sessions.
Driver Issues and Solutions
Drivers connect your hardware to your operating system. Outdated drivers often cause failed connections or unstable audio streams. Check the manufacturer’s website for the latest version for your specific recording interface.
If problems continue, check your physical connections. Try another USB or Thunderbolt port because some ports offer steadier power or bandwidth. Avoid USB hubs because they can cause signal interference and timing errors.
| Symptom | Potential Cause | Recommended Fix |
|---|---|---|
| Audible Clicks/Pops | Buffer size too low | Increase buffer settings |
| No Signal Input | Driver mismatch | Update device drivers |
| Delayed Monitoring | High plugin load | Use direct monitoring |
| Device Disconnects | Faulty USB cable | Replace with high-quality cable |
Enhancing Your Audio Interface Experience
Your Audio interface is only one part of high-quality sound production. A professional signal chain requires careful attention to every detail in your recording environment.
Essential Gear for Better Results
Pairing your device with high-quality microphones and studio monitors can greatly improve your results. Use balanced cables to reduce interference and noise. Acoustic treatment helps capture cleaner takes in your room.
Consider adding external preamps to give your sound a specific analog character.
Optimizing Your Recording Workflow
Choosing the best audio interface for vocals or instruments depends on your input needs and monitoring requirements. Before buying, check for stable driver support and easy-to-use control software. Reliable long-term support from brands like Focusrite or Universal Audio helps your gear stay useful as your skills grow.
Test your setup with different plugins to find your unique sonic signature. The best audio interface for vocals delivers the clarity and headroom needed for professional results. Experiment with gain staging and buffer settings to achieve the lowest possible latency.
Your perfect studio setup will evolve as your creative goals change.